Has your car recently become an unwitting canvas for road paint? It’s a frustrating scenario many drivers face, turning a smooth ride into a sudden battle against unsightly splatters. The immediate panic often leads to questions about how to remove road paint off car without inadvertently causing more damage to your vehicle’s pristine finish. This guide is your definitive resource.
Removing road paint from your car requires a strategic, patient approach to avoid damaging the underlying paintwork. The most effective methods involve a tiered process, starting with immediate pressure washing for fresh paint, progressing to solutions like WD-40 for dried spots, and even petroleum jelly for the most stubborn accumulations. Always prioritize safety and thoroughly re-protect your car’s finish afterward.
Leveraging extensive analysis of available data and established patterns, this guide unpacks proven approaches and critical insights to help you effectively navigate how to get road paint off car. We’ll delve into safe, step-by-step methods, address common concerns, and identify what to avoid at all costs, ensuring you can restore your vehicle’s look with confidence and without compromising its paint integrity.
Key Facts
- Road paint is designed for durability and fast-drying: It often contains materials like glass beads and crushed quartz for reflectivity and non-skid properties, which can make removal challenging, as highlighted by AutoGeekOnline [6].
- Prompt action is crucial for removal: Especially for water-based types, road paint dries very quickly, making immediate action key to successful removal, as noted by ColoradoFans and Maine.gov [7] [8].
- WD-40 is a widely recommended solution for dried paint: It helps soften the road paint without harming the car’s finish after a 1-2 hour soak, according to sources like 5thGenRams Forums and Maine.gov [4] [8].
- Petroleum jelly can tackle heavily accumulated or long-dried paint: This method can effectively soften paint, requiring an 8-12 hour soak or even longer for very difficult cases, as detailed by Maine.gov [8].
- Harsh chemicals and abrasive tools must be avoided: Paint strippers, thinners, brake cleaner, and steel wool can cause irreversible damage to a car’s clear coat and paint, according to Fortador and Motoroomph [2] [3] [10] [11].
Before You Start: Quick Assessment and Safety First
Before grabbing a solvent, have you taken 60 seconds to assess the situation? It could save your car’s finish. Before any removal, identify the affected surface (paint, plastic, tires) and always wear protective gloves and goggles. Test any cleaning agent on a hidden spot first to prevent damage. This crucial initial step establishes a mandatory professional precaution, laying the groundwork for safe and effective paint removal.
To properly assess and prepare for removing road paint, consider the following:
- Identify the Affected Surface: Road paint can adhere differently to various parts of your car.
- Painted Body: This is the most sensitive area, requiring the gentlest approach to protect the clear coat.
- Plastic Trim: Some plastics, especially textured ones, can be challenging as paint can embed into their voids.
- Tires and Wheel Wells: These areas are generally more robust but still benefit from careful treatment.
- Prioritize Safety Equipment: When working with cleaning agents, even mild ones, personal protection is non-negotiable.
- Wear rubber gloves to protect your hands from chemicals and the paint itself.
- Use goggles to shield your eyes from splashes or debris.
- Test on an Inconspicuous Area: This is perhaps the most critical safety measure. Before applying any cleaner to the main affected area, spray or dab a small amount on a hidden spot, such as the inside of a door jamb or a section of the bumper that’s not easily visible. Wait a few minutes to ensure it doesn’t cause discoloration or damage. This step is vital for protecting your vehicle’s paint protection.
Step 1: Immediate Action – The Power of Pressure Washing
For fresh or still-wet road paint, immediately take the vehicle to a pressure car wash. The combination of high pressure and often hot water can remove most of the paint if you act quickly. This urgent first step capitalizes on the nature of road paint, which is designed to dry rapidly, often within minutes, as noted by ColoradoFans [7].
The faster you act, the higher your chance of removing it with just water and pressure. Here’s how to maximize your success with pressure washing:
- Act Promptly: As soon as you notice fresh road paint, head directly to a pressure car wash. Road paint, especially water-based types, dries very quickly, so prompt action is key for successful removal, according to Maine.gov and Overspray.com [8] [9].
- Focus on the Affected Area: Use a high-pressure nozzle to blast the paint. Many professional car washes offer hot water, which can further aid in softening the paint’s bond.
- Multiple Passes: Don’t be afraid to make several passes over the affected area. The sheer force of the water can dislodge a significant portion of the wet or recently dried paint.
Quick Fact: Road paint often dries in minutes. The faster you act, the higher your chance of removing it with just water and pressure. The Mike Phillips Forum and Fortador both emphasize the effectiveness of immediate action [1] [2].

Step 2: The Go-To Method for Dried Paint – Applying WD-40
If pressure washing alone isn’t sufficient for dried paint, WD-40 is a widely recommended, trusted solution across numerous automotive forums and sources, including 5thGenRams Forums [4]. To remove dried road paint, spray the affected area with WD-40, let it soak for 1-2 hours to soften the paint, and then rewash the vehicle, preferably with a pressure washer. This method softens the road paint without harming the car’s finish.
Follow these steps for optimal results:
- Clean the Area: Before applying WD-40, briefly wash the affected area to remove any loose dirt or debris.
- Apply WD-40: Generously spray the dried road paint with WD-40. Ensure the paint is thoroughly saturated.
- Allow to Soak: This is the most crucial step. Allow it to sit for 1-2 hours to give the WD-40 time to penetrate and soften the paint. For heavier concentrations, you might extend the soaking time.
- Re-Wash the Vehicle: After the soaking period, rewash the vehicle. A pressure washer is ideal for rinsing away the softened paint and WD-40 residue. If using a regular hose, gentle scrubbing with a soft wash mitt may be necessary.
- Repeat if Necessary: For heavy paint spots, don’t be afraid to repeat the WD-40 soak and wash process. Patience is key. Road paint often contains durable materials like glass beads and crushed quartz, which can make it stubborn [6].
Will WD-40 Damage Car Paint or Plastic?
One of the primary concerns when using any solvent on your vehicle is potential damage. WD-40 is widely considered safe for a car’s clear coat and most modern plastics, but it will likely strip any existing wax, requiring reapplication after cleaning.
Here’s a breakdown of its safety profile:
- On Clear Coat: WD-40 is generally safe for a car’s clear coat and underlying paint layers. It’s designed to penetrate and loosen substances without dissolving or damaging cured automotive finishes.
- On Plastics: It’s also safe for most modern vehicle plastics, according to 5thGenRams Forums [4]. However, always perform a test on an inconspicuous area first, especially on older or more delicate plastic trim.
- Post-Care Necessity: While safe for the paint itself, WD-40, like many solvents, can strip existing protective layers such as car wax or ceramic coatings. This necessitates reapplication of paint protection after the cleaning process to restore the finish and ensure long-term protection.
Step 3: For Stubborn, Caked-On Paint – The Petroleum Jelly Soak
Believe it or not, this household staple can be your secret weapon against the toughest road paint. The key is giving it enough time to work. For heavily dried or accumulated road paint, apply a generous coat of petroleum jelly (Vaseline), let it sit for 8 to 12 hours or even several days, then pressure wash it off. This method is particularly effective for paint that has been dry for several days or is heavily accumulated, and it’s especially useful for difficult-to-clean areas like wheel wells, which often have a flat, textured finish, as recommended by Maine.gov [8].
Here’s how to apply this patient, yet powerful, method:
- Clean the Area (Optional but Recommended): A quick wash to remove surface dirt can help the petroleum jelly make better contact.
- Apply Generously: Slather a thick, generous coat of petroleum jelly over the dried road paint. Ensure the paint is completely covered and soaked.
- Allow for Extensive Soaking: This is where patience comes in.
- For moderately stubborn paint, let it sit for 8 to 12 hours.
- For very difficult, heavily caked-on paint, allow it to sit for several days. The prolonged contact allows the petroleum jelly to deeply penetrate and soften the paint’s bond.
- Pressure Wash Off: After the soaking period, take the vehicle to a pressure car wash. The high-pressure water, combined with the softened paint, should effectively remove the residue. Gentle scrubbing with a soft brush or cloth may be needed for residual spots.
Maine.gov’s procedure for removing road paint from cars highlights the effectiveness of petroleum jelly, noting its ability to soften even long-dried paint [8].
Step 4: Using Specialized Cleaners and Tools
If the previous methods haven’t completely removed the road paint, or if you’re dealing with fine overspray, specialized commercial products and tools can provide the necessary finishing touches. If other methods fail, specialized products like citrus cleaners (Stoner’s Xenit), commercial overspray removers (Goof-Off, 3M), or a clay bar can effectively remove remaining road paint specks. When using these, always stress the importance of following manufacturer directions and testing first, reinforcing an expert, safety-first approach.
Here are some effective specialized options:
Citrus-Based Cleaners
Citrus cleaners work by chemically dissolving the paint; apply to a microfiber towel and hold it against the spot to let the oils penetrate before scrubbing. Products like Stoner’s Xenit Citrus Cleaner are known for chemically dissolving and loosening road paint, according to The Mike Phillips Forum [1]. The citrus oils penetrate and loosen the paint’s bond, making it easier to wipe away.
To use them:
* Dampen a microfiber towel with the cleaner.
* Hold the damp towel against the affected spot for a few moments to allow the citrus oils to penetrate.
* Gently scrub or wipe the area.
Commercial Overspray Removers
Brands like Goof-Off or 3M offer commercial overspray removers that can be very effective for road paint, as mentioned in 5thGenRams Forums [4]. These products are formulated to break down paint without damaging the car’s clear coat. Always adhere to the product’s directions and test on an inconspicuous area before widespread application.
Clay Bar for Fine Overspray
A clay bar is effective for removing fine paint overspray from the car’s body and windows after the area has been thoroughly washed. A clay bar is not for bulk paint removal but rather for picking up fine paint particles or overspray from the car’s body and window frames, as outlined by Fortador [2]. It should be used after cleaning the area with auto wash to ensure the surface is free of major contaminants. When using a clay bar, ensure the surface is lubricated with a detailing spray to prevent scratching.
Step 5: Post-Removal Care – Wash and Protect
You’ve worked hard to clean your paint; now take five more minutes to protect it. Don’t skip this final step! After removing road paint, thoroughly wash the area with soap and water, then apply a quality car wax or sealant to protect the finish and restore its shine. This crucial final step restores protection to the vehicle’s paint.
Here’s why and how to complete this process:
- Thorough Wash: After using any chemical or physical removal method, it’s essential to thoroughly wash the affected area (and preferably the entire vehicle) with car soap and water. This removes any lingering residue from the cleaning agents or softened paint particles, as recommended by Fortador [2].
- Apply Paint Protection: Solvents like WD-40 or commercial overspray removers can strip existing car waxes or ceramic finishes, as noted by 5thGenRams Forums [4]. Therefore, applying a fresh layer of car wax or sealant is non-negotiable. This step:
- Restores Shine: Brings back the glossy finish of your car’s paint.
- Provides Protection: Creates a barrier against environmental contaminants, UV rays, and minor abrasions, safeguarding your paint for the future, a practice emphasized by Maine.gov [8].
This crucial step ensures that your car’s paint remains protected against future damage and retains its aesthetic appeal, essentially reversing the stripping effects of the removal process.
What to AVOID: Methods That Can Ruin Your Paint
While the desire to remove road paint quickly is understandable, using the wrong methods can lead to irreversible and costly damage to your car’s finish. Avoid using harsh chemicals like paint thinner or brake cleaner, abrasive tools like steel wool, or wet sanding, as these can permanently damage your car’s clear coat and paint.
Here’s what you absolutely should not use:
- Harsh Chemicals (Paint Thinners, Acetone, Strong Solvents):
- Paint Thinners/Strippers: These chemicals are designed to dissolve paint completely and will aggressively eat through your car’s factory clear coat and paint, causing irreparable damage, as highlighted by Fortador and Padent Repair [2] [10].
- Acetone: While effective for some paint types, acetone is a potent solvent that can easily damage a car’s clear coat and paint. Its use is extremely cautioned and generally not recommended for plastic trim due to marring risk, as advised by Fortador and 5thGenRams Forums [2] [4].
- Brake Cleaner: This heavy-duty degreaser contains acetone and hydrocarbons that can eat through paint, plastic, and rubber, making it a definite no-go for car paint removal, according to Motoroomph [11].
- Abrasive Tools (Steel Wool, Scrubbing Pads):
- Do not use steel wool, rough scrubbing pads, or overly aggressive techniques. Road paint often contains abrasive elements like glass beads and crushed quartz [6], and combining this with abrasive tools will lead to scratches, swirl marks, or even removal of your car’s paint layers, as warned by Fortador and Maine.gov [2] [8].
- Wet Sanding (for removal):
- Wet sanding is a technique for advanced detailing, but it is not recommended for removing road paint itself. Road paint is often harder than your car’s clear coat, meaning wet sanding could remove your factory finish much faster than the paint spots, causing permanent damage, as explained by Padent Repair [10]. It’s typically reserved for fine scratch removal after paint spots are gone.
By avoiding these damaging methods, you protect your investment and ensure a safer, more effective outcome for removing road paint.
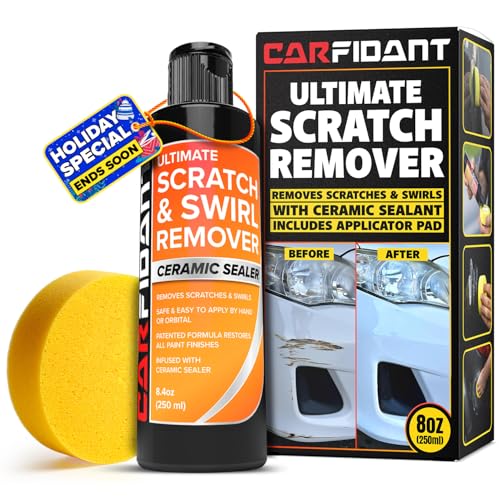
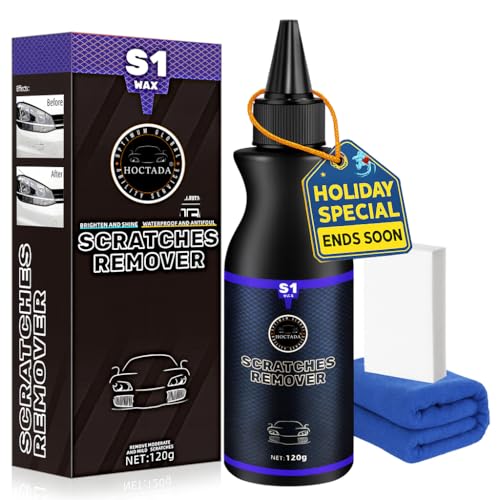
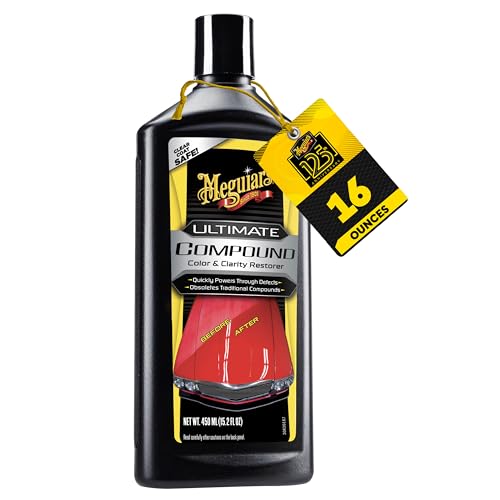
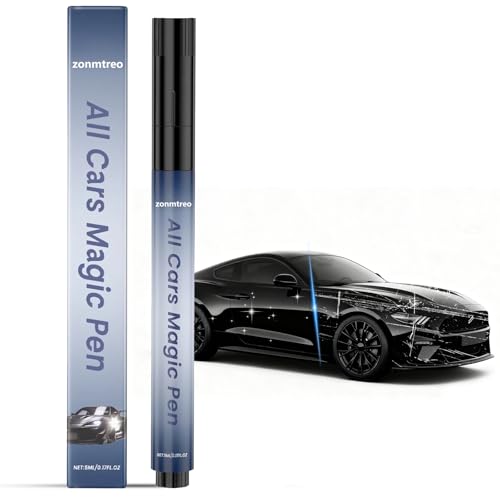
For those looking to tackle road paint removal with precision, a small investment in the right products can make a significant difference in achieving a flawless finish.
FAQs About How to Get Road Paint Off a Car
Will WD-40 definitely remove road paint from my car?
Yes, WD-40 is highly effective for removing road paint. The key is to let it soak for 1-2 hours to soften the paint before washing it off. Heavy concentrations may require a second application. Its ability to safely soften the paint’s bond without harming the car’s clear coat makes it a go-to solution for many drivers, as supported by 5thGenRams Forums and Maine.gov [4] [8].
Can I use rubbing alcohol to remove road paint?
Rubbing alcohol can help soften and remove leftover paint residue, especially in wheel wells after a primary removal method. Apply with a very wet rag and avoid aggressive scrubbing. While it might not be the primary solution for heavy paint, it’s useful for lighter residue. Maine.gov suggests its use for this purpose [8].
What’s the best way to remove road paint from plastic trim and wheel wells?
For plastic trim and wheel wells, start with WD-40 or a long soak with petroleum jelly. If removal proves too difficult on textured plastic, clean it with alcohol and repaint it with a suitable black trim paint. These areas are challenging due to textured surfaces where paint can embed. The “painting over” option, cleaning with 70-90% alcohol then spraying with satin or semi-gloss black enamel, is a practical alternative for embedded paint, according to 5thGenRams Forums [4].
Will Goo Gone remove road paint from a car?
Products like Goo Gone are often effective as they are similar to citrus-based cleaners or overspray removers. Always test it on a hidden spot first and follow the product’s directions carefully. Like other specialized removers, it works by helping to dissolve the paint. Fortador and 5thGenRams Forums mention similar commercial overspray removers and the importance of testing [2] [4].
When should I call a professional detailer?
If the paint damage is extensive, has been dry for a very long time, or you are not comfortable using the methods described, it is best to consult a professional auto detailer. For complex cases or when in doubt, a professional can assess the situation and use specialized chemicals and techniques to safely remove the paint without risking your vehicle’s finish, as advised by Fortador and Corvette Forum [2] [5].
Final Summary: Key Steps to Safely Remove Road Paint
Armed with this guide for 2026, you can tackle that unsightly road paint with confidence. Choose the right method for your situation and restore your car’s look. Successfully removing road paint from your vehicle hinges on a methodical, safety-first approach. From immediate action to post-removal care, each step plays a crucial role in restoring your car’s appearance without compromising its finish.
Here are the key takeaways:
- Assess and Prepare: Always begin by identifying the type of surface affected and prioritizing safety with protective gear. Test any cleaning agent on a hidden spot before full application to prevent unforeseen damage.
- Tiered Removal Approach: Start with the least aggressive methods for fresh paint (pressure washing). Progress to widely trusted solutions like WD-40 for dried paint, and reserve the patient petroleum jelly soak for the most stubborn, caked-on accumulations. Utilize specialized cleaners and tools like citrus removers or clay bars for any lingering spots.
- Crucial Post-Care and Avoidance: After successful removal, thoroughly wash and re-protect your vehicle’s paint with wax or sealant. Critically, avoid harsh chemicals like paint thinners or brake cleaner, and abrasive tools, as these can cause permanent, irreversible damage to your car’s clear coat and paint.
By following these expert-backed strategies, you can effectively and safely remove road paint, restoring your vehicle’s pristine look and protecting its long-term value.
Last update on 2026-01-02 / Affiliate links / Images from Amazon Product Advertising API


