That musty smell in your car is more than just an annoyance—do you know what you could be breathing in? Discovering mold growth in your vehicle is unsettling, raising immediate concerns about your car’s condition and, more importantly, your health. This guide provides the definitive, step-by-step process to not only remove the contamination but also ensure it never returns.
To effectively clean mold from a car interior, you must first vacuum all surfaces with a HEPA filter vacuum, then kill the mold using a diluted white vinegar solution, and finally, ensure the interior is 100% dry to prevent regrowth, all while wearing proper safety gear.
Leveraging extensive analysis of professional detailing methods and established safety protocols, this guide unpacks the proven approaches you need. We’ll cover everything from the critical safety gear you must wear to the most effective DIY cleaning solutions, advanced techniques for deep-seated contamination, and the crucial final steps to eliminate odors and prevent mold from ever coming back.
Key Facts
- Health Risks are Significant: Inhaled mold spores can directly affect the heart and lungs. Many studies confirm a direct link between the size of these inhaled particles and their potential to cause serious health problems.
- Moisture is the Primary Cause: Mold thrives in damp, warm environments. The most common causes of mold in a car are water leaks from windows or sunroofs, liquid spills, and leaving wet items like towels inside the vehicle.
- A HEPA Filter is Non-Negotiable: When vacuuming, using a vacuum with a HEPA filter is critical. Standard vacuums can recirculate microscopic mold spores back into the air, spreading the contamination instead of containing it.
- White Vinegar is a Proven DIY Solution: Due to its mild acidity, a simple solution of white vinegar and water is highly effective at killing most common types of mold found in cars and is safe for most interior surfaces, including leather and vinyl.
- Drying is the Most Important Step: The final drying phase is the single most critical step to prevent mold from returning. Any remaining dampness will undo all cleaning efforts and provide the fuel for immediate regrowth.
Before You Start: Understanding Mold in Your Car and Why It’s a Health Risk
The first step in learning how to clean mold from car interior is understanding what you’re up against. That musty smell is a clear sign that your car’s cabin has become a breeding ground for fungi. Mold thrives in warm, moist, and poorly ventilated environments, making a sealed car interior a perfect incubator.
Mold in a car is almost always caused by one thing: trapped moisture. The root of the problem can usually be traced back to a few common culprits:
* Leaks from windows, door seals, or a sunroof that allow rain to seep in.
* Spilled drinks or food that weren’t cleaned up properly.
* Leaving damp items like gym clothes, wet towels, or umbrellas inside the car.
* Parking in a consistently damp garage or living in a high-humidity climate.
* Significant water intrusion from flood damage.
Once spores take hold, they can appear as white fungal spores, foamy hyphae, or the common black spots of mildew. The real danger, however, is invisible. Mold propagates by releasing airborne spores that your car’s HVAC system can circulate throughout the entire cabin.
According to multiple health studies, the presence of mold in a car can cause significant health responses. When you inhale these microscopic particles, they can affect the heart and lungs and, in some cases, lead to serious health effects like respiratory problems.
This isn’t just about an unpleasant odor or unsightly stains; it’s about protecting the health of anyone who rides in your vehicle. Taking swift and thorough action is essential.

SAFETY FIRST: Essential Protective Gear and Preparation
Before you even think about touching the mold, you must gear up. This is a non-negotiable step to protect yourself from inhaling dangerous spores and from contact with cleaning chemicals. Think like a pro: The goal isn’t just to clean the mold you see, but to protect yourself from the invisible spores in the air. Never skip this step.
CRITICAL SAFETY STEP: Based on universal agreement from multiple professional sources, you must assemble and wear the proper personal protective equipment (PPE).
- Respirator Mask: Wear a high-quality N95 respirator mask. This is specifically designed to filter out microscopic mold spores and prevent you from breathing them in. A simple dust mask is not sufficient.
- Eye Protection: Use sealed safety goggles. This prevents spores from getting into your eyes and protects them from any splashes from cleaning solutions.
- Gloves: Wear non-porous rubber or nitrile gloves to protect your hands from both mold contact and the cleaning agents you’ll be using.
- Protective Clothing: It is highly recommended to wear long sleeves, long pants, or even a disposable coverall suit to prevent spores from settling on your skin or clothes. Closed-toe shoes are also a must.
Once you are fully protected, prepare your workspace. Park the car outside in a sunny, dry, and well-ventilated location—not in an enclosed garage. Open all the doors and the trunk to maximize fresh air circulation. The fresh air helps disperse spores away from you, and direct sunlight’s natural UV rays can help kill surface mold.
Step 1: Prepare the Interior and Remove Loose Contaminants
With your safety gear on and the car ventilated, the first physical action is to clear out the vehicle and perform a crucial dry-cleaning pass. This removes the bulk of loose spores and debris before you introduce any moisture, which could otherwise turn spores into a muddy, harder-to-clean mess.
- Remove Everything: Take out all personal items, trash, and especially removable fabric components. This includes all floor mats and any aftermarket seat covers. Heavily contaminated items that cannot be thoroughly cleaned should be safely bagged and disposed of.
- Address Leaks: If you know where moisture is getting in (e.g., a bad window seal), make a note to address this root cause after the cleaning is complete.
- Vacuum Thoroughly: This is where the right tool makes all the difference. You must use a vacuum cleaner equipped with a HEPA filter.
Quick Fact: Did you know that regular vacuums can spread mold spores? Their filters aren’t fine enough to trap microscopic spores, so they end up shooting them right back into the air. Using a HEPA filter is the key to trapping them for good. Meticulously vacuum every single surface inside the car: seats, carpets, door panels, the dashboard, the headliner, and deep into all crevices and under the seats. For stubborn spots, use a stiff brush to agitate and loosen the mold before vacuuming it up.

Step 2: Choose Your Cleaning Solution (DIY vs. Commercial)
After removing the loose contaminants, it’s time to choose a cleaning agent to kill the remaining mold at its roots. You have several effective options, ranging from common household products to specialized commercial cleaners. The best choice depends on the severity of the mold and the surfaces you’re cleaning.
| Solution | How It Works | Best For (Surfaces) | Caution |
|---|---|---|---|
| Distilled White Vinegar | Mildly acidic; breaks down the structure of most common molds and kills them. | Fabric, upholstery, leather, vinyl, plastic. A very versatile option. | The strong smell dissipates completely once dry. |
| Non-Iodized Salt | Dehydrates and desiccates mold spores, killing them through lack of moisture. | Best for fabric and carpet in sunny conditions. | Can be corrosive over time on metal and some plastics. Test first. |
| Clove Oil | Contains natural antiseptic properties that are highly effective at destroying mold spores. | Spot treatment on fabrics. | Use sparingly; it has a very strong scent. Mix 1/4 tsp per liter of water. |
| Baking Soda | A mild alkali that dissolves organic material like mold and is excellent for absorbing odors. | Fabric, carpet. Can be used as a paste or sprinkled dry. | Can leave a white residue if not thoroughly cleaned. |
| Commercial Mold Cleaner | Formulated with specific antimicrobial agents (like bleach or peroxide) to kill mold. | Severe infestations. Follow label for surface compatibility. | Always follow product instructions and test on a hidden area first. |
How to Apply Your Chosen Cleaner
Applying your chosen solution correctly is just as important as selecting the right one. The goal is to let the cleaner do the work of killing the mold before you scrub it away. Pro Tip: Always test your cleaning solution on a small, hidden spot first to ensure it doesn’t discolor your upholstery or trim!
- For Vinegar Solution:
- Mix one part white vinegar with one part water in a spray bottle. For severe mold, you can use undiluted vinegar.
- Spray the solution liberally onto the moldy areas.
- Wait for at least 20 minutes. This dwell time is crucial for the vinegar’s acidity to kill the mold.
- Scrub the area gently with a stiff brush or cloth, then wipe clean with a damp towel.
- For Baking Soda:
- Sprinkle dry baking soda over the affected area or create a paste with a small amount of water.
- Wait for about 20 minutes to allow it to absorb odors and break down the mold.
- Scrub the area and then vacuum up the residue thoroughly.
- For Commercial Cleaners:
- Read the manufacturer’s instructions carefully.
- Apply the product as directed, paying close attention to recommended dwell times and safety warnings.
- Wipe or scrub as instructed on the label.
Step 3: Deep Clean, Extract, and Disinfect Embedded Mold
For mold that has penetrated deep into carpets and upholstery, a surface wipe-down isn’t enough. You need to bring in more powerful tools to extract the contamination from the fibers. Relatable Analogy: “Think of it like cleaning a stain on a shirt. You don’t just blot the top; you have to treat the fibers and rinse it out completely. Extraction does the ‘rinsing’ for your car’s carpets.”
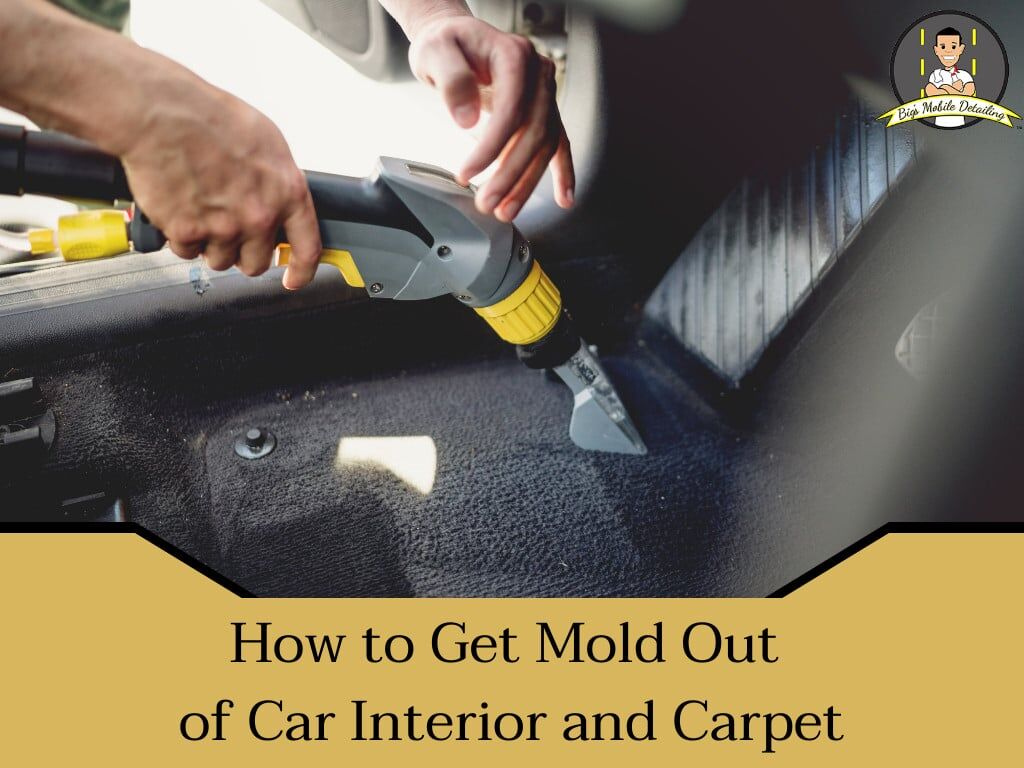
- Steam Clean First: The high heat from a steam cleaner is incredibly effective at killing mold spores and disinfecting surfaces. According to professional detailers, steam penetrates deep into fabric and forces embedded mold and allergens to the surface, making them easier to remove. Steam clean the carpets, seats, and even the headliner.
- Shampoo & Extract: After steaming, apply an enzyme carpet shampoo or a quality all-purpose cleaner to the affected areas. Use a brush to scrub the shampoo into the fibers. Immediately follow up with a wet/dry shop vacuum or a carpet extraction machine. This step is vital—it physically sucks the dissolved mold, dirt, and shampoo residue out of the material, preventing it from drying back into the fabric. If the padding under the carpet has been wet for a long time, it may need to be replaced entirely.
- Disinfect Surfaces: As a final deep-cleaning measure, lightly mist all surfaces with an antimicrobial spray. This will help neutralize any lingering spores and disinfect the interior of your vehicle.
Step 4: Eliminate Lingering Odors and Airborne Spores
Even after a thorough cleaning, a musty smell can persist. This odor is caused by leftover airborne spores that have circulated throughout the cabin and into your HVAC system. Addressing this is the final piece of the puzzle for how to clean mold from car interior.
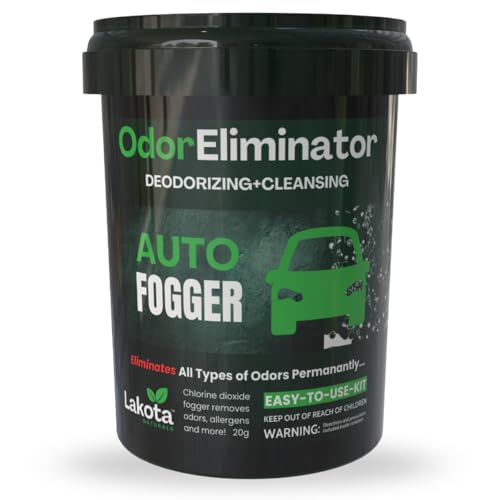
- Ozone Generator: For stubborn odors, an ozone generator is the professional’s choice. These machines create O3 (ozone), a gas that oxidizes and destroys airborne contaminants, including mold spores and bacteria. Running an ozone generator inside the sealed car for a few hours will eliminate odors throughout the cabin and deep within the hard-to-reach vents of the HVAC system.
- Baking Soda: For a less intensive approach, you can place an open box or a shallow tray of baking soda in the car for a few days to help absorb residual odors.
- Air Fresheners: These only mask odors and should only be used after the mold and its source have been completely eliminated.
Crucial Final Step: Always replace the cabin air filter after a mold remediation. The old filter is likely clogged with mold spores and will reintroduce them into the cabin the moment you turn on your heat or AC. This is a simple and inexpensive step that makes a huge difference.
Step 5: Ensure Everything is Completely Dry
You’ve done all the hard work to kill the mold. Why would you invite it right back in? Don’t skip the drying step!
This is the most critical step to prevent mold regrowth. Any moisture left behind is an open invitation for a new colony to form. Multiple professional guides emphasize that thorough drying is the most important part of the entire process. The interior must be 100% dry.
- Use clean, dry towels to blot up as much excess moisture as possible.
- Position fans to blow air directly into the car’s interior.
- If available, place a space heater or a dehumidifier inside the car (with proper ventilation and supervision) to speed up the process.
- On a sunny, low-humidity day, leave the car doors and windows open to let the sun and air do the work naturally.
Feel the carpets, check under the floor mats, and press on the seats. Do not close up the car until you are absolutely certain every last bit of dampness is gone.
How to Prevent Mold from Coming Back
Now that your car is clean and fresh, the final phase is prevention. Keeping your car mold-free is all about controlling moisture and maintaining cleanliness.
- Control Moisture: This is the number one priority. Immediately fix any leaks in your window seals, sunroof, or door gaskets. Use a waterproof car cover if you park outside.
- Keep Windows Closed: Always roll your windows up when parking to prevent rain from getting inside.
- Maintain Cleanliness: Regularly vacuum and clean your car’s interior. Immediately clean up any food or drink spills. Periodically wipe down surfaces with an antimicrobial cleaner.
- Avoid Leaving Damp Items: Make it a rule to never leave wet clothes, towels, or sports gear in the car.
- Use Moisture Absorbers: For ongoing humidity control, especially in damp climates, place a moisture-absorbing product like Damprid or a simple open container of baking soda in the car.
For a hassle-free way to get the essential tools for both cleaning and prevention, consider investing in a complete kit. Using a dedicated car mold removal kit can simplify the process and ensure you have compatible products for every step.
When to Call a Professional for Car Mold Removal
While the DIY methods outlined here are effective for most minor to moderate mold issues, there are times when calling in a professional auto detailer is the smartest and safest choice. Be honest with yourself: if the mold seems overwhelming or keeps coming back, calling a professional isn’t a failure—it’s the smartest move for your health and your car.
Consider professional help if you notice:
* Extensive Growth: The mold covers a large percentage of the interior, is visible on the headliner, or has deeply penetrated hidden areas.
* Recurring Mold: You’ve cleaned the car thoroughly, but the mold returns within a few weeks. This indicates a hidden moisture source or that the original infestation was not fully eradicated.
* Persistent Odor: A strong, musty smell remains even after deep cleaning and odor treatment.
* Health Symptoms: You feel lightheaded, nauseous, or experience respiratory issues when you’re in the car or attempting to clean it.
* Flood Damage: If the car has been in a flood, the water has almost certainly saturated the carpet padding and other hidden materials, requiring professional-grade extraction and remediation.
Professional detailers have the specialized equipment and expertise to handle these severe cases. The cost can range from a few hundred dollars for smaller jobs to over $2000 for severe, widespread infestations, depending on the vehicle’s size and the extent of the contamination.
FAQs About how to clean mold from car interior
Can a moldy car interior actually be fixed?
Yes, a moldy car interior can absolutely be fixed. For minor to moderate surface mold, the DIY methods described in this guide, which involve using a cleaner like white vinegar and ensuring the area is completely dried, are very effective. For severe, widespread, or recurring infestations, professional mold remediation services have the specialized tools to restore the interior completely.
What do professional detailers use to remove mold?
Professional detailers use a combination of specialized equipment to ensure complete mold eradication. Their arsenal typically includes:
* High-heat industrial steam cleaners to kill spores deep within fabrics.
* Powerful wet/dry vacuums and carpet extractors to remove all moisture and contaminants.
* Ozone generators to destroy all airborne spores and eliminate odors from the cabin and HVAC system.
* Commercial-grade antimicrobial sprays and enzyme cleaners.
How effective is white vinegar against car mold?
White vinegar is a highly effective, safe, and versatile household option for cleaning car mold. Its mild acidity is strong enough to kill most common types of mold spores on contact. It is generally safe for a wide variety of interior materials, including delicate surfaces like leather and vinyl, making it a recommended first choice for many DIY mold removal projects.
Will the mold smell ever go away completely?
Yes, the mold smell can be removed completely, but this requires eliminating the source of the odor, which is the mold spores themselves. Simply cleaning the visible mold is not always enough. To permanently remove the smell, you must kill all the mold and then treat the air with an ozone generator and replace the cabin air filter to destroy any lingering airborne spores.
Is it safe to just spray bleach on car mold?
It’s not recommended. While bleach can kill mold, it is a harsh chemical that can easily and permanently discolor or stain car upholstery, carpets, and other fabrics. If you must consider using it, you absolutely have to test it on a small, completely hidden area first. Safer and equally effective alternatives like diluted white vinegar are generally the better choice for car interiors.
Final Summary: Your Roadmap to a Mold-Free Car
Tackling mold in your car can feel daunting, but with the right knowledge and a systematic approach, you can confidently reclaim your vehicle’s interior. This guide has provided a comprehensive roadmap, walking you through every critical stage from understanding the health risks to implementing professional-grade cleaning techniques and ensuring the problem never returns. By following these steps, you are not just cleaning a stain; you are creating a healthier environment for yourself and your passengers.
- Safety First: Always wear an N95 mask, goggles, and gloves.
- Clean Methodically: Vacuum with a HEPA filter first, then kill mold with a tested solution like white vinegar.
- Extract, Don’t Just Wipe: For deep contamination, use steam and a wet/dry vacuum to pull the mold out completely.
- Dry Completely: The single most important step to prevent regrowth is ensuring the interior is 100% dry.
- Prevent Future Growth: Address leaks and maintain a clean, dry interior to keep mold away for good.
Take the steps outlined in this guide and confidently reclaim your car’s interior for a healthier, more pleasant drive
Last update on 2025-12-28 / Affiliate links / Images from Amazon Product Advertising API


