That stubborn, sticky glue residue on your car window is more than just an eyesore; it’s a magnet for dust and grime that obstructs your view and makes your vehicle look unkempt. Whether it’s the ghost of an old parking permit, a dealership decal, or the remnants of window tint, you’re faced with a frustratingly tough substance designed to withstand weather and time. You need a way to remove it completely without scratching the glass or damaging your car’s trim.
The most effective method to clean glue residue from a car window is a multi-step process: first, soften the adhesive using a hairdryer on low heat. Next, gently lift the bulk of the residue using a plastic razor blade. Finally, dissolve any remaining film with a solvent like rubbing alcohol or a commercial adhesive remover, and finish with a streak-free glass cleaner.
Leveraging a systematic analysis of established techniques, this guide unpacks the proven, professional-grade approach to a perfectly clear finish. We’ll detail the exact tools you need, the safest methods for both standard and tinted windows, and the final cleaning steps that guarantee a spotless result, helping you tackle this common problem with confidence and precision.
Key Facts
- Heat is Your First Weapon: Applying heat with a hairdryer on a low setting for 30-60 seconds is a highly effective first step. Evidence from numerous auto detailing guides suggests this significantly lowers the adhesive’s viscosity, making it much easier to peel or scrape away.
- Plastic Blades are Non-Negotiable: To avoid permanent damage, you must only use a plastic razor blade or scraper. Well-established best practices universally warn that metal blades can easily cause deep, irreversible scratches on glass and can sever the delicate lines of a rear window defroster.
- Tinted Windows Have Special Rules: When working on tinted glass, it is critical to use only ammonia-free cleaning solutions. Authoritative sources confirm that ammonia can react with the window film, causing it to bubble, discolor, and degrade over time.
- Household Solvents Are Effective: Common household items like white vinegar and cooking oil work based on chemical principles. Numerous reports show vinegar’s acidity breaks down adhesives, while non-polar solvents like oil effectively dissolve non-polar glue molecules, following the “like dissolves like” principle.
- A Final Wash is Crucial: The job isn’t done after the glue is gone. A final cleaning using warm water with a drop of dish soap, followed by a rinse and a buff with a dry microfiber cloth, is essential to remove any solvent film and prevent streaks.
Step 1: Prepare Your Workspace and Gather Essential Supplies
Before tackling the glue, clean the window with glass cleaner and a microfiber cloth to prevent scratching, and gather your supplies in a shaded, well-ventilated area. Getting your supplies and work area ready is the professional’s first step. It ensures you can work efficiently and safely, preventing common mistakes like scratches from hidden grit or cleaners drying into a streaky mess on a hot window.
Pro-Tip: Working in the shade isn’t just for comfort—it prevents cleaning agents from evaporating too fast, giving them more time to work on the glue and preventing streaks.
Here’s how to set up for a flawless result:
1. Initial Surface Clean: Spray the entire glass surface with a standard, ammonia-free glass cleaner.
2. Wipe Down: Using a clean microfiber cloth, wipe down the window to remove any surface-level dust, dirt, or debris. This simple action is critical to prevent dragging grit across the glass and causing scratches during the scraping phase.
3. Inspect the Area: With a clean surface, you can now clearly see the exact outlines of the glue residue you need to remove.

Essential Tools and Materials Checklist
Key tools include microfiber cloths, a plastic razor blade (never metal), and a chosen solvent like rubbing alcohol or a commercial remover. Having everything within arm’s reach means you won’t have to step away in the middle of a crucial step. This checklist covers all the effective options found across expert guides.
| Item | Primary Use | Safety Note |
|---|---|---|
| Plastic Razor Blade / Scraper | Gently lifting softened glue | CRITICAL: Never use a metal blade. |
| Microfiber Cloths (Multiple) | Applying solvents & final buffing | Use separate cloths for cleaning and drying. |
| Rubbing Alcohol (70%+ Isopropyl) | Effective, widely available solvent | Test on an inconspicuous spot first. |
| Commercial Adhesive Remover | Dissolving stubborn, strong glue | Follow manufacturer directions carefully. |
| White Vinegar | Natural, acidic solvent | Mix with water for a gentler solution. |
| Hairdryer or Heat Gun | Softening hardened adhesive | Use on a low heat setting to avoid glass damage. |
| Ammonia-Free Glass Cleaner | Final cleaning & initial prep | MUST be ammonia-free for tinted windows. |
| Dish Soap & Warm Water | Removing solvent residue | A few drops in a spray bottle are sufficient. |
| Gloves (Optional) | Protecting hands from chemicals | Recommended when using stronger solvents. |
Step 2: Choose Your Method to Remove the Glue Residue
To remove glue residue, first try applying heat to soften it, then scrape gently, and finally use a solvent like rubbing alcohol or Goo Gone to dissolve what remains. The most successful outcomes don’t rely on a single magic bullet but on a combination of techniques. By layering these methods, you can break down even the most stubborn, baked-on adhesive without resorting to excessive force.
Now you might be wondering:
Is the glue old and baked-on, or is it a fresh, sticky mess? Your answer will help you pick the perfect starting point below. Often, the best results come from combining heat with scraping and a chemical solvent.
Method A: Soften Stubborn Glue with Heat
Use a hairdryer on low, held a few inches from the glass, moving in circles for 30-60 seconds to soften the adhesive before scraping. This is the single most effective first step for hardened glue. Heat works by lowering the viscosity of the adhesive, making it less sticky and much easier to peel or scrape away without a fight.
- Set the Heat: Turn your hairdryer or heat gun to its lowest heat setting. High heat is unnecessary and poses a risk to the glass.
- Apply Heat Evenly: Hold the nozzle a few inches away from the glue residue. Move it in slow, continuous circles over the entire area. This prevents concentrating heat on one spot.
- Time it Right: Continue heating the area for about 30 to 60 seconds. You should notice the glue becoming visibly softer or more pliable.
- Proceed Immediately: Move directly to the scraping step while the adhesive is still warm and soft.
Method B: Dissolve Residue with Chemical and Household Solvents
Apply a solvent like rubbing alcohol, white vinegar, or a commercial product like Goo Gone to a cloth, let it sit on the residue for several minutes to dissolve the adhesive, then wipe or scrape away. After you’ve removed the bulk of the glue with heat and scraping, solvents will take care of the thin, sticky film left behind.
- Rubbing Alcohol: As a potent solvent, isopropyl alcohol is excellent for breaking down many types of adhesives. Apply a generous amount to a microfiber cloth or cotton ball, press it against the residue, and let it soak for a few minutes before rubbing in a circular motion.
- White Vinegar: The natural acidity in white vinegar makes it a great, safe option for dissolving glue. Soak a cloth in vinegar, apply it to the spot, and allow it to sit for 5-10 minutes to work its magic before wiping away.
- Commercial Adhesive Removers (Goo Gone, WD-40): These products are specifically engineered for this task. Spray the product directly onto the residue, let it penetrate according to the label’s instructions (usually a few minutes), and then wipe clean. They are particularly effective on very stubborn or specialized adhesives.
- Cooking Oil: Quick Fact: Did you know cooking oil works? It’s a non-polar solvent, and since most adhesives are also non-polar, it dissolves the glue based on the ‘like dissolves like’ chemical principle. Apply a small amount, let it soak into the glue for 10 minutes, and then scrub with a cloth to lift the residue.
Important: While highly effective, some strong solvents like acetone (nail polish remover) can permanently damage the rubber seals and plastic trim around your windows. If you must use it, apply it very carefully with a cotton swab only to the glass surface and avoid contact with any other materials.
Method C: Gently Scrape Away the Softened Glue
Using a plastic razor blade at a low angle, gently push under the softened glue from the edge. Wipe the blade often to prevent smearing. This mechanical step removes the majority of the adhesive after it has been weakened by heat. The right technique is crucial for avoiding scratches.

- Lubricate the Surface (Optional but Recommended): Spraying the area with a bit of soapy water or glass cleaner can add lubrication and further reduce the risk of scratching.
- Hold the Blade at a Low Angle: Keep the plastic blade almost flat against the glass, at a 30 to 45-degree angle.
- Start from an Edge: Find an edge of the softened glue and gently push the blade forward under the residue. Use steady, short strokes rather than long, fast ones.
- Lift, Don’t Gouge: The goal is to get under the glue and lift it off the glass.
- Wipe the Blade Clean: After each pass, wipe the accumulated gunk off the blade with a paper towel. This prevents you from simply smearing the sticky residue around.
WARNING: Never use a metal razor blade, especially on tinted windows or near rear defrost lines. It can cause permanent scratches and damage. A plastic blade is the only safe tool for this job.
Step 3: Address Special Cases: Tinted Windows and Tough Adhesives
For tinted windows, always use ammonia-free cleaners and avoid harsh chemicals like acetone. For tough 3M adhesives, a combination of prolonged heat and a commercial adhesive remover is most effective. Not all glue removal situations are the same. Acknowledging and safely navigating these common challenges is what separates a good result from a costly mistake. This section provides the expert-level advice needed for these nuanced problems.
Safely Cleaning Tinted Windows
Always use an ammonia-free glass cleaner on tinted windows and rely on the gentlest methods first, like warm soapy water or rubbing alcohol, paired with a plastic scraper. Window tint is a delicate film applied to the inside of the glass, and it’s easily damaged by the wrong chemicals or tools.
The reason ammonia is so bad for tint is that it can break down the film’s adhesive and material over time, leading to ugly bubbling, peeling, and a purplish discoloration.
Do’s and Don’ts for Tinted Windows:
* DO check that all your cleaners explicitly state “Ammonia-Free” and “Safe for Tinted Windows.”
* DO start with the least aggressive method, like a warm, soapy cloth.
* DO use a plastic blade with extreme care and light pressure.
* DON’T use any products containing ammonia.
* DON’T use acetone, harsh degreasers, or abrasive scrubbers.
* DON’T use excessive heat, which can cause the tint film to bubble or warp.
Step 4: Final Cleaning for a Perfect, Streak-Free Finish
After removing the glue, spray the window with a mix of warm water and a few drops of dish soap, wipe with a microfiber towel, then rinse and dry with a fresh cloth for a spotless finish. This crucial last step removes any oily or chemical film left behind by your solvents, restoring the window’s clarity and ensuring a truly professional-quality result.
- Prepare the Final Wash: In a spray bottle, mix warm water with a couple of drops of mild dish soap.
- Wash the Area: Liberally spray the section of the window where you were working.
- Wipe Down: Using a new, clean microfiber cloth, wipe down the entire area to remove any lingering residue from the adhesive or the cleaners you used.
- Rinse (If Necessary): If the surface feels soapy, give it a quick spray with plain water and wipe again.
- Buff Dry: With a second, completely dry microfiber cloth, buff the window in circular or straight-line motions until it is perfectly clear and streak-free.
Pro-Tip: Use two microfiber cloths for the final step: one for the initial soapy water wipe-down, and a second, completely dry one for the final buff. This is the secret to a truly streak-free shine.
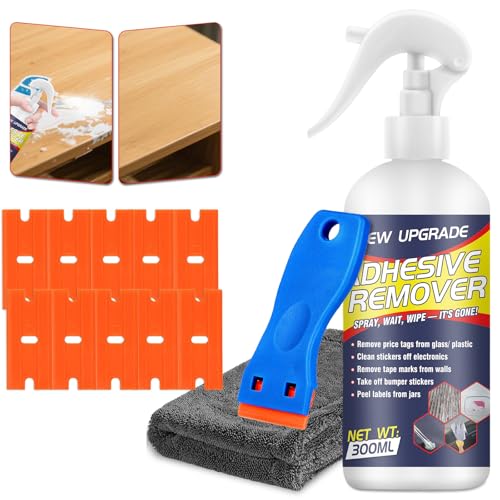
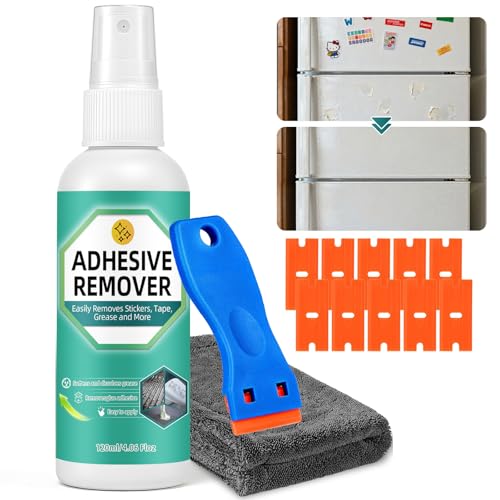
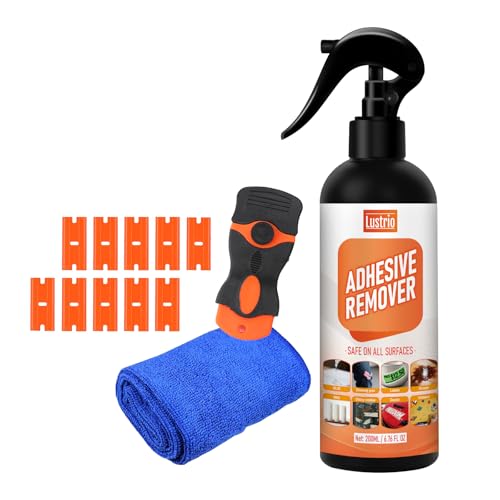
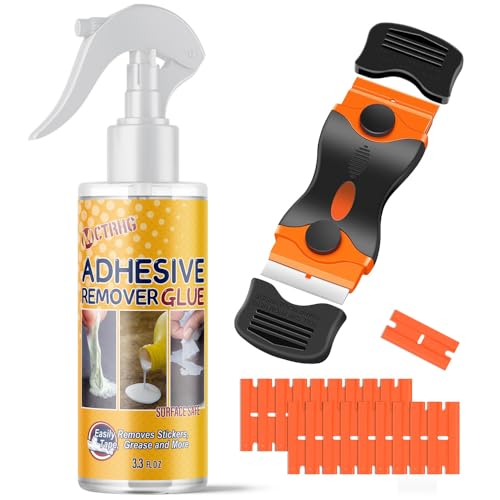
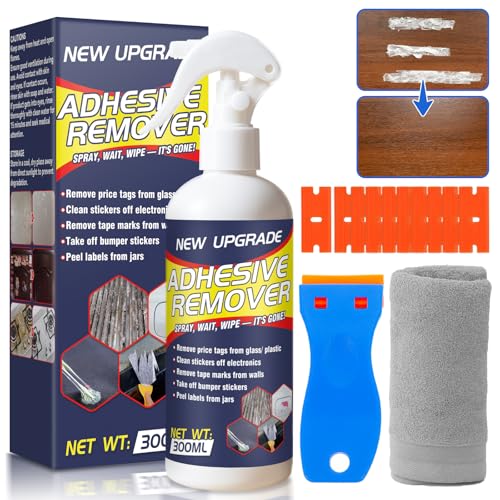
To make the job even easier, having a complete set of dedicated tools can save you time and ensure you have the right item for every step.
FAQs About How to Clean Glue Residue From Car Window
What is the best way to remove sticky sap from a car window?
Tree sap can be treated very similarly to glue residue. Start by applying rubbing alcohol to a cloth and letting it sit on the sap to dissolve it. If it’s hardened, you may need to gently scrape it with a plastic razor blade after the alcohol has softened it. A commercial bug and tar remover is also highly effective.
How do I remove old window film glue from my car?
Old window tint glue is notoriously tough. The most effective method is a combination of steam or prolonged, low heat from a heat gun to keep the adhesive soft, followed by spraying with a soapy water solution and scraping with a plastic razor blade. Patience is key; you will likely need to work in small sections.
Is it safe to use WD-40 or Goo Gone on my car window?
Yes, both products are generally safe for use on auto glass itself. They are excellent at dissolving sticky residues. However, you should take care to avoid overspraying them onto your car’s paint or plastic and rubber trim. It’s best to spray them onto a cloth first, then apply to the glass. Always wipe the area clean with a glass cleaner afterward.
Can I really use a razor blade on my car window without scratching it?
You can, but only if it is a PLASTIC razor blade. Never use a metal household razor blade, which will absolutely scratch the glass. When using a plastic blade, hold it at a low angle and use it on a wet or lubricated surface to minimize risk. Be extra cautious near the edges and any defroster lines.
What household items can I safely use to get sticky residue off a glass window?
Several common household items work very well. The most effective and safest are isopropyl (rubbing) alcohol, white vinegar, cooking oil, and a paste made from baking soda and water. Hand sanitizer, due to its high alcohol content, can also work in a pinch. Always test in a small area first.
How do I get stubborn dashcam (3M) adhesive off my windshield?
That gray or black 3M mounting tape is exceptionally strong. The key is prolonged heat. Use a hairdryer for a minute or two to get the adhesive very warm and soft. Then, use a plastic scraper or even dental floss to “saw” through the softened adhesive and pry the mount off. A commercial adhesive remover will be necessary to dissolve the remaining residue.
What should I absolutely avoid using when cleaning glue from car windows?
You should absolutely avoid using metal razor blades, steel wool, or any other abrasive scouring pads, as they will cause permanent scratches. Also, avoid ammonia-based cleaners on tinted windows, as they cause bubbling and discoloration. Be cautious with harsh solvents like acetone, which can damage nearby plastic and rubber.
Final Summary: Key Takeaways for Spotless Car Windows
Removing stubborn glue residue from your car’s glass doesn’t require brute force—it requires the right strategy. By following a systematic process of heating, scraping, dissolving, and final cleaning, you can restore your window to a perfect, clear finish without causing any damage. The key is patience and using the correct tools for the job, especially a plastic razor blade and the right solvent for your situation.
This guide provides a safe, repeatable workflow that protects your vehicle while delivering professional results. The most critical takeaways are:
* Always start with heat to soften the glue.
* Use a plastic blade, never metal, to scrape away the bulk.
* Choose the right solvent, like rubbing alcohol or a commercial remover, to clean the remaining film.
* Pay special attention to tinted windows by using only ammonia-free products.
* Finish with a proper wash and dry to ensure a streak-free shine.
Armed with these proven methods, you can now confidently restore your car windows to a perfectly clear, streak-free state. Grab your supplies and say goodbye to that annoying glue residue for good
Last update on 2026-02-10 / Affiliate links / Images from Amazon Product Advertising API



![DooGooCoo Windshield Snow Cover: Honest Review [year] 12 DooGooCoo Windshield Snow Cover: Honest Review [year]](https://i0.wp.com/carxplorer.com/wp-content/uploads/2026/02/DooGooCoo-Windshield-Snow-Cover-Honest-Review-year-1.jpg?resize=60%2C60&ssl=1)


