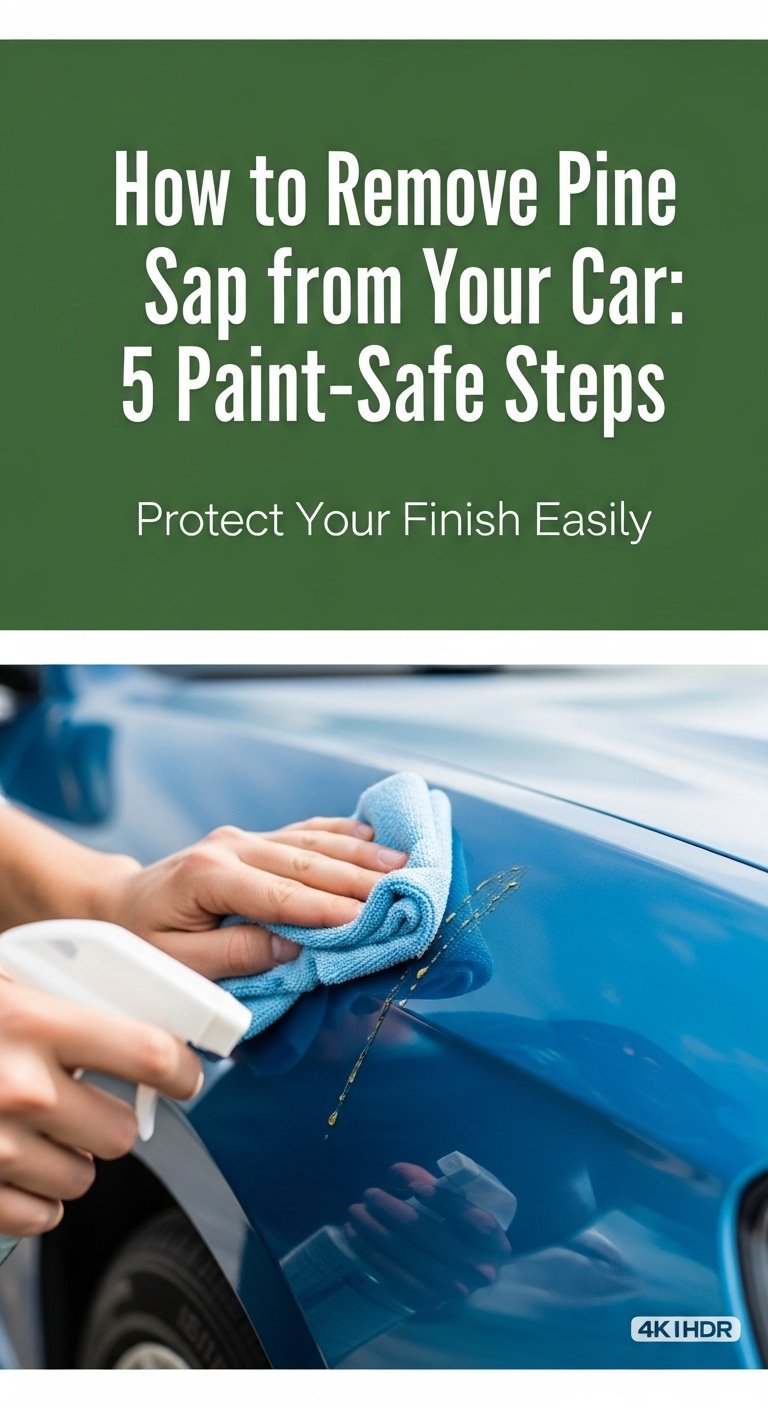
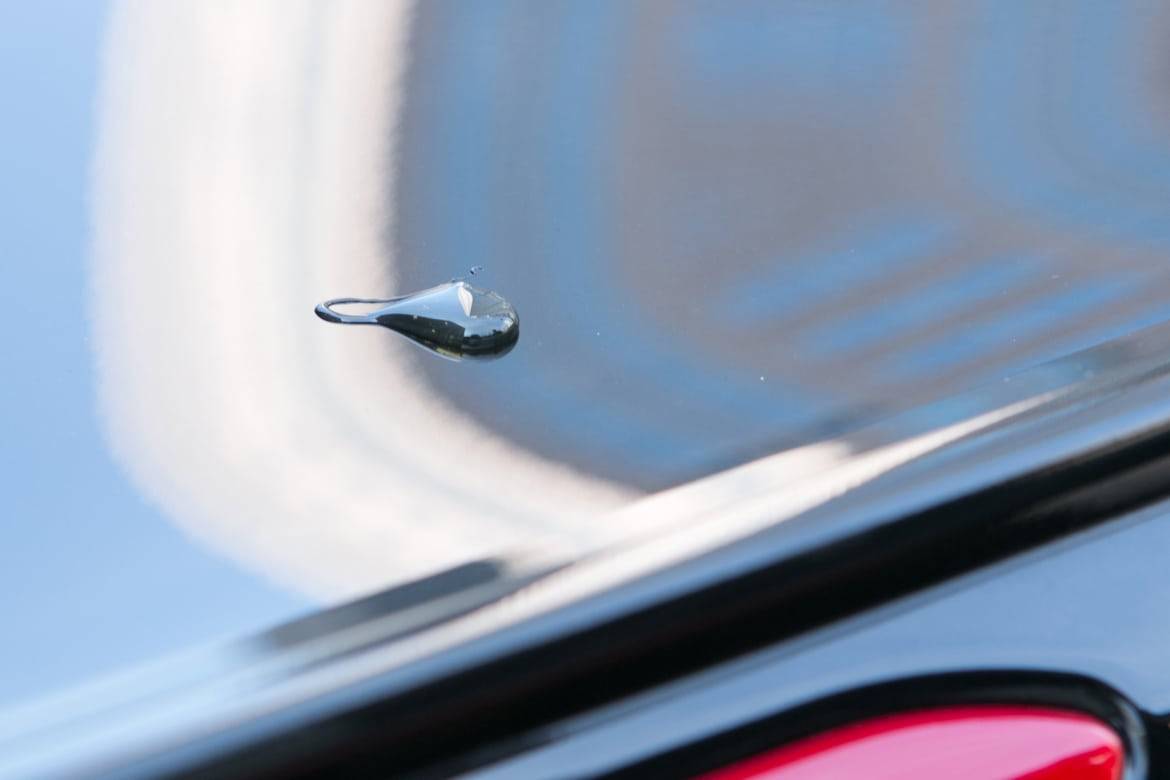
That stubborn, sticky drop of pine sap on your otherwise pristine car is more than just an annoyance; it’s a threat to your vehicle’s paintwork. If left untreated, this seemingly harmless blemish can cause permanent damage, leading to costly repairs and a diminished finish. The key is knowing how to remove pine sap from your car safely and effectively, without causing more harm than good.
To successfully remove pine sap from your car, you must first wash the area to prevent scratches, then use a paint-safe solvent like isopropyl alcohol to dissolve the sap. Let the solvent dwell for a few minutes, gently wipe the sap away, and finish by applying a coat of wax to restore the paint’s protective layer.
This comprehensive guide moves beyond simple hacks to provide a complete, professional-grade process. Leveraging detailed analysis of proven methods, we will walk through the critical preparation steps, compare the five safest and most effective removal techniques for both fresh and hardened sap, and detail the essential aftercare required to protect your car’s finish. You’ll learn not just the “how,” but the “why,” empowering you to tackle this common problem like a seasoned detailer.
Key Facts
- Acidic Damage Potential: Pine sap contains natural acids and sugars that can chemically etch into a car’s protective clear coat, especially when baked on by the sun, potentially causing permanent spots.
- Pre-Washing is Non-Negotiable: Attempting to rub off sap without first washing the area grinds existing dirt and debris into the paint, causing scratches that are often worse than the original sap spot.
- Oil-Based Solvents for Hardened Sap: For stubborn, baked-on sap, oil-based products like WD-40 have shown a 90% effectiveness rate by penetrating and softening the hardened resinous material.
- Harsh Chemicals Cause Irreversible Harm: Common garage solvents like acetone, gasoline, or paint thinner should never be used on paint, as they can quickly dissolve the clear coat, leading to immediate and irreversible damage.
- Protection is the Final Step: Any process that removes sap also strips the protective wax or sealant layer from your car’s paint, making it essential to reapply a coat of wax immediately after cleaning to prevent future damage.
Why You Must Remove Pine Sap from Your Car (Updated for 2025)

That tiny drop of sap might seem insignificant, but it’s a chemical problem unfolding directly on your car’s finish. Pine sap is a complex organic mixture of sugars and natural acids. When it lands on your car, it immediately begins to bond with the top layer of your paint—the clear coat. Understanding the risks involved is the first step in knowing how to remove pine sap from your car before it’s too late.
Ever wonder why that tiny drop of sap is so stubborn? It’s a chemical reaction happening right on your paint. The danger escalates quickly due to environmental factors, posing several key risks to your vehicle’s paintwork:
- Acidic Etching: The natural acids within the pine sap are corrosive. Over time, these acids slowly eat away at the car paint’s clear coat, creating a dull or discolored spot that sinks into the finish. This is known as etching.
- Aggressive Bonding: Heat from the sun and UV rays act as a catalyst, hardening the sap and causing it to bond even more aggressively with the paint. What starts as a sticky liquid can “bake” into a hard, resinous shell that becomes incredibly difficult to remove.
- Permanent Damage: If sap etching is left untreated, it can penetrate through the clear coat and damage the color coat underneath. At this stage, simple removal is no longer possible, and the spot may require professional paint correction, which involves machine polishing and can be expensive.
In short, prompt action is your best defense. The sooner you address a sap spot, the easier it will be to remove and the lower the risk of lasting damage to your car’s valuable finish.
Step 1: Prepare the Area for Safe Sap Removal
Before you touch the sap itself, a critical preparation phase is necessary to ensure you don’t inadvertently damage your paint. This step is non-negotiable and is foundational to learning how do you remove pine sap from your car the right way.
To prepare for sap removal, first park in the shade to cool the paint, then gently wash the area with car soap to remove grit and prevent scratches.
Think of it like prepping a wall before painting—skipping this step means you’re just grinding dirt into the finish.
- Park in the Shade: Move your car out of direct sunlight and let the affected panel cool down completely. A hot surface can cause sap to become even stickier and can make cleaning agents evaporate too quickly to be effective. A cool, shaded surface is the ideal canvas for sap removal.
- Wash the Affected Area: Using a proper car wash soap and a clean microfiber towel, gently wash the sap spot and the immediate surrounding area. This removes any loose dirt, dust, and abrasive grit. If you skip this, when you start rubbing the sap, you’ll be dragging that grit across your paint, creating a web of fine scratches.
Once the area is clean, cool, and dry, you are ready to proceed with one of the paint-safe removal methods.
Step 2: Choose Your Paint-Safe Removal Method
There isn’t a single “best” way to get tree sap off a car; the most effective method depends on how fresh or hardened the sap is. The golden rule is to always start with the least aggressive method and only escalate if necessary. This approach ensures you protect your paint while effectively dissolving the sap.
Choose a removal method based on the sap’s age: start with gentle options like isopropyl alcohol for fresh sap and move to stronger solutions like WD-40 or commercial removers for hardened sap.
Here is a quick overview of the most reliable and paint-safe options available.
| Method | Best For | Risk Level (When Used Correctly) |
|---|---|---|
| Isopropyl Alcohol | Fresh, sticky sap | Low |
| Hand Sanitizer | On-the-go emergencies | Low |
| WD-40 / Cooking Oil | Hardened, baked-on sap | Low |
| Commercial Removers | Stubborn, large spots | Low |
| Clay Bar Treatment | Fine sap splatter & residue | Low-Medium |
Now, let’s break down exactly how to use each of these methods to safely remove pine sap from your car.
Method 1: Isopropyl Alcohol (The Safest Starting Point)
For fresh to moderately aged pine sap, Isopropyl Alcohol (IPA), commonly known as rubbing alcohol, is the go-to solution for professional detailers and enthusiasts alike. An IPA solution with a concentration of 70% or higher is highly effective at breaking down the sticky organic compounds in sap without being overly harsh on your car’s clear coat.
For fresh sap, let a microfiber towel soaked in 70%+ rubbing alcohol sit on the spot for 2-3 minutes, then wipe gently and wash the area.
Quick Fact: The alcohol works by dissolving the sticky organic compounds in the sap, breaking its bond with your paint.
Here is the step-by-step process:
- Saturate: Lightly dampen a clean, soft microfiber towel with 70% or 91% isopropyl alcohol. You don’t need to drench it, just enough to be wet to the touch.
- Dwell: Place the saturated part of the towel directly over the sap spot and let it sit for 2-3 minutes. This “dwell time” is crucial, as it allows the alcohol to penetrate and soften the sap.
- Wipe: After the dwell time, use light pressure and small, circular motions to gently wipe the sap away. It should start to dissolve and lift onto the towel. Do not scrub aggressively.
- Clean: Once the sap is gone, immediately wash the area with car wash soap and water to remove any remaining alcohol residue, then dry it with a clean microfiber towel.
Caution: Isopropyl alcohol evaporates very quickly and offers little lubrication. For this reason, ensuring the area is perfectly clean before you start is paramount to avoiding scratches.
Method 2: Hand Sanitizer (An Effective Emergency Fix)
If you’re on the road and don’t have a bottle of IPA, the hand sanitizer in your glove box can be a surprisingly effective tool to remove pine sap from your car. The key is to use a gel-based sanitizer that contains at least 70% alcohol. The gel formulation is actually an advantage here, as it evaporates much slower than liquid IPA, allowing for a longer, more effective dwell time.
Apply a generous amount of 70%+ alcohol gel hand sanitizer, let it sit for 5 minutes, wipe the softened sap away, and rinse the area completely.
Pro Tip: Keep a small bottle of gel hand sanitizer in your glove box for on-the-spot sap emergencies.
Here’s how to do it safely:
- Apply: Squeeze a generous dollop of gel hand sanitizer directly onto the pine sap, ensuring it’s completely covered.
- Wait: Let the sanitizer sit undisturbed for about 5 minutes. You may see the sap begin to dissolve or change consistency.
- Work: Using a soft microfiber towel, gently work the sanitizer and softened sap in circular motions until the spot is gone.
- Rinse: This is a critical step. Rinse the area thoroughly with water to remove all sanitizer residue, which can contain other ingredients that shouldn’t be left on your paint.

Method 3: WD-40 or Cooking Oil (For Stubborn, Baked-On Sap)
When you’re dealing with old, hardened sap that has baked onto the paint, alcohol-based solutions may not be strong enough. This is where oil-based products come in. The oils in products like WD-40 or even common cooking oils (olive oil, coconut oil) are incredibly effective at penetrating the hardened, resinous structure of old sap, re-hydrating and softening it from the inside out.
For hardened sap, apply WD-40 or cooking oil, let it sit for 5-10 minutes, gently lift the sap, and immediately wash the area with car soap.
Ever wonder why this works? The oils break down the sap’s hardened, resinous structure, making it soft and pliable again.
Follow these steps for tough sap spots:
- Apply: Spray a small amount of WD-40 directly onto the sap, or apply a few drops of cooking oil. Use it sparingly—you only need enough to cover the spot.
- Dwell: Allow the product to sit and penetrate for 5-10 minutes. This is longer than with alcohol because it needs time to work its way into the hardened sap.
- Lift: The sap should now be soft and gelatinous. Use a microfiber towel or a soft plastic scraper to gently lift it off the surface. It should come away with very little pressure.
- Wash Immediately: This is the most important step. Oil-based products leave behind a greasy residue that attracts dirt and dust like a magnet. You must wash the area thoroughly with car wash soap and water to remove every trace of the oil.
Method 4: Commercial Bug & Tar Removers (The Formulated Solution)
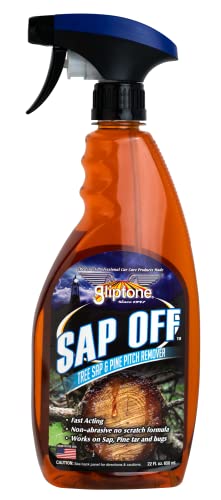
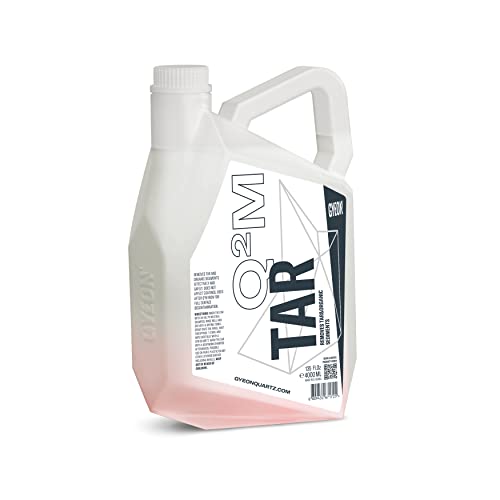
For those who prefer a dedicated product, commercial bug and tar removers are specifically engineered for this exact task. These products are formulated by chemists to dissolve organic materials like insect residue, road tar, and tree sap quickly and safely without harming your car’s clear coat. Brands like Stoner Car Care Tarminator and Koch-Chemie Eulex are popular choices among professionals for their effectiveness.
Use a dedicated bug and tar remover by applying it to the sap, letting it dwell for 30-60 seconds as directed, and wiping it off for a highly effective solution.
The benefits of using a dedicated product are clear:
- Specially Formulated: They contain powerful solvents blended to target organic matter specifically.
- Safe for Clear Coats: When used as directed, they are guaranteed to be safe for modern automotive finishes.
- Highly Effective: They often work faster and require less effort than household remedies.
The process is straightforward:
- Shake the product well and spray it directly onto the pine sap.
- Allow the product to dwell for the time recommended on the label, typically 30-60 seconds.
- Use a soft microfiber towel or sponge to wipe away the dissolved sap.
- Rinse the area with water and dry it to prevent any streaking.
Method 5: Clay Bar Treatment (For Fine Sap Splatter & Residue)
Sometimes the problem isn’t one big drop, but a fine mist of tiny sap splatters across a large area. In this case, or if a stubborn residue remains after another removal method, a clay bar treatment is the perfect professional-grade technique. An automotive clay bar is a special resin compound that gently shears off and pulls out surface contaminants that are bonded to the paint, including sap.
For widespread tiny sap spots, use a clay bar with plenty of lubricant, gliding it over the surface in straight lines and kneading it often to expose a clean side.
Pro Tip: If the clay bar feels like it’s grabbing or sticking, you need more lubricant! It should glide effortlessly.
Using a clay bar sounds advanced, but the process is simple:
- Start with a clean, washed surface.
- Spray a generous amount of dedicated clay bar lubricant (or a car soap solution) onto a small section of the car.
- Flatten a piece of the clay bar into a small patty.
- Gently glide the clay bar back and forth over the lubricated area using straight-line motions and light pressure. You will feel it “grab” at first and then become smooth as it picks up the sap contaminants.
- Wipe the area with a clean microfiber towel and check your work.
Caution: As the clay picks up contaminants, it will become dirty. You must fold and knead the clay frequently to expose a clean, fresh surface. If you drop the clay on the ground, throw it away.
Critical Warning: What NOT to Use to Remove Tree Sap
Knowing what to do is only half the battle; knowing what not to do is just as important to protect your car’s paint. Using the wrong product or tool can turn a minor sap problem into a major, expensive repair.
Avoid using harsh solvents like acetone, paint thinner, and gasoline, as they can dissolve your car’s clear coat. Never use sharp objects that will scratch the paint.
Takeaway: If it feels too harsh for your own skin, it’s definitely too harsh for your car’s paint.
Steer clear of these items at all costs:
- Harsh Chemicals (Acetone, Paint Thinner, Gasoline): While these are powerful solvents, they are far too aggressive for automotive paint. They can chemically melt and dissolve the protective clear coat in seconds, causing cloudy, permanent damage. Only use acetone-based products like nail polish remover with extreme caution on glass, and never for extended periods on paint.
- Sharp or Abrasive Objects: Never try to scrape sap off with a razor blade, knife, steel wool, or abrasive scouring pad. These will instantly cut deep scratches and gouges into your paint that will require professional correction to fix. If you must scrape, only use a soft plastic razor blade designed for automotive use.
Step 3: Apply Post-Removal Protection
Successfully removing the sap is not the final step. The cleaning process, especially when using solvents like alcohol or commercial removers, can strip away any existing wax or sealant protecting your paint. This leaves the area exposed and vulnerable to future contaminants.
After removing sap, always wash the area and apply a fresh coat of car wax or sealant to restore the paint’s protective layer and prevent future damage.
Think of wax as your car’s sunscreen and raincoat combined. You wouldn’t want to go without it after a deep clean.
- Wash and Dry Thoroughly: Ensure the area is completely clean and free of any sap or chemical residue.
- Polish (If Needed): Look at the area in good light. If you notice any slight dullness or faint etching from where the sap was, applying a light car polish can help restore the depth and shine of the clear coat.
- Wax the Area: Apply a thin, even coat of a quality car wax or paint sealant to the treated area. This crucial final step restores the protective barrier, adds a brilliant shine, and creates a slick surface that will make it harder for future sap to bond to your paint.
Step 4: Proactive a to Prevent Future Sap Problems
The best way to handle pine sap is to avoid it in the first place. A few simple, proactive habits can save you significant time and effort in the long run, keeping your car’s finish safe and sap-free.
Prevent sap by avoiding parking under high-sap trees, using a car cover when necessary, and maintaining a protective layer on your paint with regular waxing or a ceramic coating.
Quick question for you: Based on your daily parking habits, which of these prevention tips would be easiest for you to implement this week?
- Practice Smart Parking: This is your first line of defense. Be mindful of where you park. Trees known for high sap production include pine, maple, birch, and sweet gum. If you can, choose a parking spot away from these types of trees, especially during the peak sap seasons of spring and early summer.
- Use a Car Cover: If parking under a troublesome tree is unavoidable, a quality car cover is your best solution. It provides a physical barrier that keeps sap, bird droppings, and other environmental fallout from ever touching your paint.
- Apply Protective Coatings: Maintaining a robust protective layer on your paint is key. This creates a sacrificial barrier between the sap and your clear coat. You have several levels of protection to choose from:
- Car Wax: The most basic option. A good quality wax should be applied every 3-4 months.
- Ceramic Coating: A far more durable, professional-grade option that creates a hard, chemical-resistant shell over your paint that can last for years.
- Paint Protection Film (PPF): The ultimate solution, this is a thick, clear vinyl film applied to high-impact areas of your car that provides a self-healing shield against all forms of damage.
To simplify your task and achieve the best results, having the right tools on hand is essential. Explore these top-rated products that are specifically designed to tackle tree sap and other tough contaminants safely and effectively.
FAQs About Removing Pine Sap from a Car
What is the easiest way to remove fresh pine sap?
For fresh, sticky pine sap, the easiest and safest method is to use isopropyl (rubbing) alcohol with a 70% or higher concentration. Apply it to a microfiber towel, let it sit on the sap for 2-3 minutes to dissolve it, and then gently wipe it away. This method is fast, effective, and readily available.
Will WD-40 really remove tree sap from car paint safely?
Yes, WD-40 is safe and surprisingly effective for removing older, hardened tree sap. Its oil-based formula penetrates and softens the sap. The key to using it safely is to wash the area thoroughly with car soap and water immediately after to remove any oily residue, which can attract dirt.
How do you get old, hardened tree sap off a car?
Old, hardened sap requires a stronger approach. Start with an oil-based product like WD-40 or a commercial bug and tar remover. Allow the product to dwell on the spot for 5-10 minutes to soften the sap before gently lifting it with a microfiber cloth or a soft plastic scraper.
Is it safe to use rubbing alcohol on my car’s paint?
Yes, it is generally safe to use rubbing alcohol (isopropyl alcohol) on modern car paint for short periods to remove contaminants like sap. However, it can dry out paint and strip wax. Always use it sparingly, don’t let it sit for prolonged periods, and be sure to wash the area and apply a coat of wax afterward.
Can I use Dawn dish soap to remove tree sap from my car?
While a solution of mild dish soap and water can help with very fresh, light sap, it is not an effective remover for most sap spots. Furthermore, dish soaps are designed to strip grease and oils, meaning they will also strip any protective wax or sealant from your paint, leaving it vulnerable. It is always better to use a dedicated car wash soap.
Final Summary: Protecting Your Car from Pine Sap
Knowing how to remove pine sap from your car is an essential skill for any vehicle owner. It’s a process that requires more than just elbow grease; it demands the right technique and a focus on protecting your paint at every stage. By understanding the chemical threat that sap poses, you can act quickly and confidently to prevent lasting damage.
The complete, expert-approved process always follows three core principles. Mastering them is the key to keeping your car’s finish flawless.
- Act Quickly & Prep Safely: The longer sap sits, the more damage it does. Always start by working in the shade on a cool surface, and wash the area first to prevent scratches.
- Choose the Right Tool for the Job: Start with the gentlest method, like isopropyl alcohol for fresh sap, and only escalate to stronger solutions like WD-40 or commercial removers for hardened spots.
- Always Protect Afterwards: Any successful sap removal will also remove your paint’s protective wax layer. The final, non-negotiable step is to apply a fresh coat of wax or sealant to restore that crucial barrier.
Now that you have the professional detailer’s playbook, you can confidently tackle any pine sap spot and keep your car’s finish looking its best. The next step is to inspect your vehicle and, if needed, choose the method that’s right for the job.
Last update on 2025-11-26 / Affiliate links / Images from Amazon Product Advertising API


