That stubborn, faded registration sticker on your car is more than just an eyesore; it’s a frustrating task waiting to happen. You know it needs to be replaced, but you’re dreading the inevitable outcome: a torn sticker that leaves behind a mess of sticky, impossible-to-remove residue. This is a universal challenge for car owners, turning a simple task into a battle against industrial-grade adhesive.
The key to removing a car registration sticker cleanly is to first apply heat with a hairdryer to soften the adhesive. Next, use a plastic razor blade to lift a corner and peel the sticker back on itself, minimizing tearing. Finally, clean any remaining residue with rubbing alcohol or Goo Gone.
Leveraging extensive analysis of proven methods and common user pain points, this guide provides a definitive, step-by-step process to learn how to remove car registration stickers without scratching your vehicle or leaving behind any sticky goop. We will unpack the exact tools, techniques, and residue-removal methods that turn this chore into a quick, damage-free success.
Why Removing Old Registration Stickers is a Frustrating but Necessary Task
Old registration stickers must be removed because they use a durable, long-lasting adhesive and most states legally require their removal before applying a new one. Ever wondered why that little sticker is designed to be so stubborn? It’s all about durability. These stickers are engineered to withstand a year or more of sun, rain, and car washes, which means their adhesive is incredibly strong by design.
The primary reason for this annual or biennial chore, however, is legal compliance. Vehicle registration is the system authorities use to identify a car’s legal owner and confirm it’s permitted on public roads. Failing to have a current registration can lead to fines or even impoundment. Key reasons for vehicle registration include:
- Owner Identification: It serves as a clear record of who legally owns the vehicle.
- Legal Compliance: Operating an unregistered vehicle on public roads is illegal in most jurisdictions.
- State Requirements: Renewal is typically required annually or biennially, depending on your state’s regulations.
While it might seem convenient to place a new sticker over an old one, this is generally not advised, and many states legally require the removal of old registrations.
This legal necessity, combined with a tough adhesive, is what makes knowing how to remove car registration stickers so important for any vehicle owner.
Step 1: Gather Your Tools for a Damage-Free Removal
Gather a heat source (hairdryer), a plastic razor blade, paper towels, and an adhesive remover like rubbing alcohol or Goo Gone. Having the right equipment on hand before you start is the single best way to ensure a smooth, scratch-free process. The goal is to work smarter, not harder, and avoid any damage to your car’s glass or paint.

Here’s a simple checklist of what you’ll need:
- Heating
- A hairdryer or a heat gun (on its lowest setting)
- Scraping
- A plastic razor blade – crucial for preventing scratches on glass or paint. Never use a metal blade.
- Your fingernails (as a starting point)
- Cleaning
- An adhesive remover (Rubbing alcohol, auto glass cleaner, Goo Gone, or WD-40)
- Paper towels or a clean microfiber cloth
- A sponge (optional, for warm water application)
Pro Tip: A plastic razor blade is one of the most useful tools for any car owner. It’s perfect for this job and many others where you need to scrape without scratching!
Step 2: Warm the Sticker to Loosen the Adhesive
Use a hairdryer on its highest setting or a heat gun on low to warm the sticker. This softens the adhesive, making it significantly easier to peel away without tearing. This is the most critical step because cold, brittle adhesive is the primary reason stickers shred into dozens of tiny pieces. Quick Fact: The adhesive on these stickers is designed to work in all weather. That’s why applying gentle, consistent heat is the secret to convincing it to let go.
Here’s exactly how to remove car registration stickers using heat:
- Set your hairdryer to its highest heat setting or a heat gun to its lowest.
- Hold the nozzle a few inches away from the sticker to avoid damaging any surrounding paint or plastic.
- Heat the entire surface of the sticker evenly, moving the heat source back and forth for about one to two minutes. You should feel the sticker become pliable.
No hairdryer? Parking your car in direct sunlight for a while can also help soften the adhesive, especially on a warm day.
Step 3: Carefully Peel and Scrape the Sticker Off
Lift a corner with a plastic blade, then peel the sticker by folding it back over itself (180 degrees). This technique minimizes tearing and leftover adhesive. Patience is key here. Are you pulling too fast and seeing the sticker tear? Slow down and re-apply a little heat to that spot. Once the sticker is warm and the adhesive is soft, you can begin the physical removal.

Follow this methodical process:
- Use your fingernail or the edge of your plastic razor blade to gently lift one corner of the warmed sticker.
- Once you have a grip, begin to pull the sticker away from the surface.
- Use the 180-degree release technique. Think of folding the sticker completely back over itself as you pull, rather than pulling it straight up and away from the window.
- As you peel with one hand, you can use the plastic blade in your other hand to gently scrape along the separation line, helping to release the sticker from the surface without tearing.

Step 4: Choose Your Method for Removing Sticky Residue
To eliminate leftover “goop,” choose between common household items like rubbing alcohol, specialized removers like Goo Gone, or multi-purpose products like WD-40. Even with the best peeling technique, you’ll likely have some sticky adhesive residue left behind. Fortunately, cleaning it up is simple. Which of these do you already have under your sink? You probably don’t need to buy anything special!
Here’s a quick comparison of the top methods:
| Method | Best For | How to Apply |
|---|---|---|
| Rubbing Alcohol / Glass Cleaner | Light to moderate residue, readily available | Apply to a paper towel and rub the area until clean. |
| Goo Gone / Goof Off | Stubborn, dried-on adhesive | Apply to a cloth, let it sit on the residue, then wipe. |
| WD-40 | Versatile use, effective on sticky residue | Spray on a cloth, wipe on, let sit, then clean the area. |
Method 1: Rubbing Alcohol or Glass Cleaner
Apply rubbing alcohol or Windex to a paper towel and wipe away the remaining residue for a simple, effective cleanup. This is often the only step you’ll need for minor adhesive spots and is safe for virtually all automotive surfaces.
- Soak a corner of a paper towel or microfiber cloth with rubbing alcohol or a standard auto glass cleaner.
- Firmly rub the sticky area in a circular motion.
- The adhesive should begin to dissolve and lift away. Use a clean section of the towel to wipe the surface dry.
Method 2: Specialized Adhesive Removers (Goo Gone / Goof Off)
For tough, dried-on adhesive, use a dedicated remover like Goo Gone, applying it with a paper towel and allowing it to penetrate the residue. These products are citrus- or solvent-based and are specifically designed to break down stubborn adhesives.
- Apply a small amount of Goo Gone or a similar product to a clean paper towel.
- Dab it onto the leftover residue and let it sit for a minute or two to work its magic.
- Always check the product instructions to ensure it is safe for your specific surface (e.g., paint vs. glass).
- Wipe the dissolved adhesive away with the paper towel.
Method 3: The WD-40 Technique
WD-40 is effective for adhesive. Apply it with a cloth, then be sure to clean the area with glass cleaner to remove the oily film left behind. Many people have a can of WD-40 in their garage, making it a convenient option.
- Spray a small amount of WD-40 onto a paper towel or cloth (avoid spraying directly on the car to prevent overspray).
- Wipe the cloth over the adhesive residue and let it sit for a few minutes.
- Use the cloth to wipe the residue off. The lubricant helps break it down easily.
- Crucially, follow up by cleaning the entire area with a standard glass cleaner to remove the oily film left by the WD-40.
Step 5: How to Apply Your New Registration Sticker Correctly
Thoroughly clean the designated area, then place the new sticker according to your state’s rules (e.g., lower-left windshield or license plate), ensuring the VIN remains visible. After all the work of removing the old sticker, applying the new one correctly is the final, satisfying step.
Follow these key rules for a perfect application:
- Clean the Surface: Use glass cleaner or rubbing alcohol to wipe the spot where the new sticker will go. Ensure the surface is completely clean and dry for maximum adhesion.
- Check State Placement: Sticker placement is not universal. For example, New York requires stickers on the lower-left corner of the inside windshield, while states like Massachusetts and Rhode Island require them on the license plate. Always check your local DMV regulations.
- Ensure VIN Visibility: If your sticker goes on the windshield, it’s critical that the Vehicle Identification Number (VIN) on your dashboard remains fully visible from the outside. Misplacement can cause issues during inspections.
Pro Tip: When applying the sticker alone, roll down your window after placing it to easily lean out and check the VIN visibility from the outside.
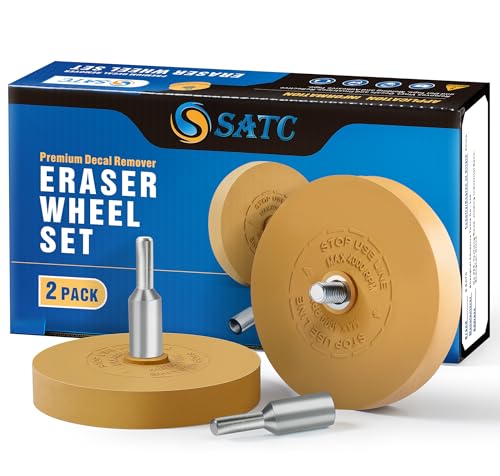
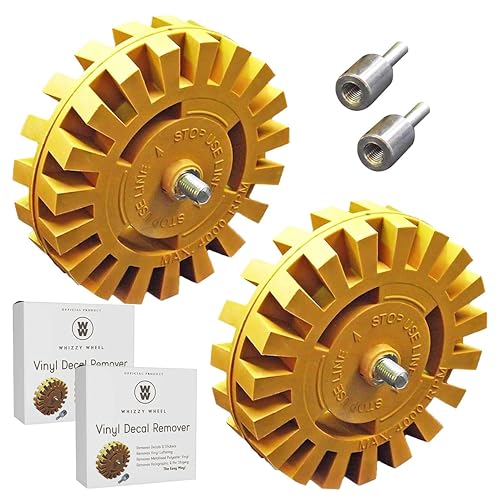
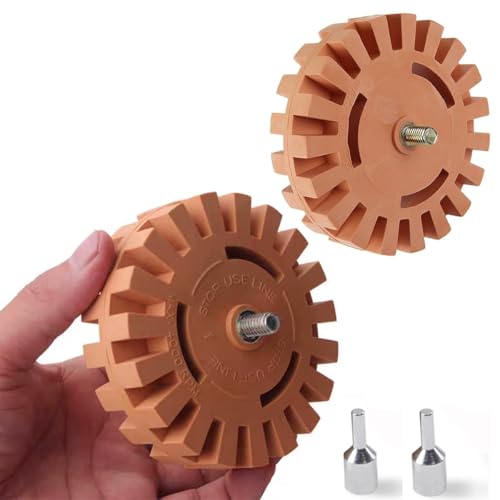
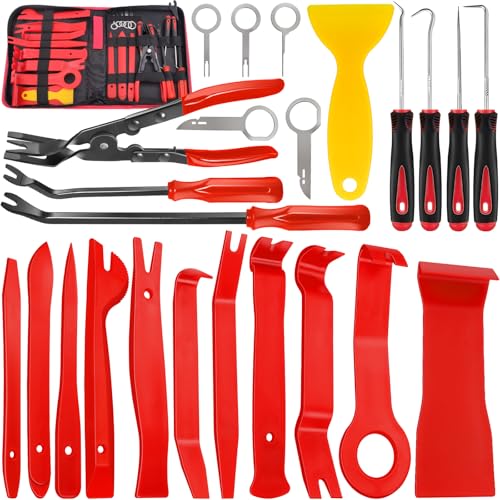
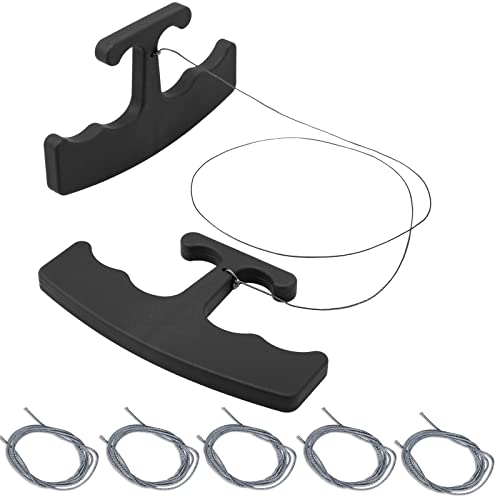
For a hassle-free experience, having a complete car sticker removal tool kit with plastic razors and adhesive removers can make this and future jobs much simpler.
FAQs About Removing Car Registration Stickers
Are you legally supposed to remove old registration stickers?
Yes, in most states, it is legally required. Stacking stickers can obscure dates and is often against DMV regulations. It’s always best practice to remove the old sticker completely before applying the new one to ensure full compliance and proper adhesion.
What’s the best way to remove a license plate sticker without damage?
The process is the same as for a windshield: apply heat with a hairdryer to soften the adhesive. Then, use a plastic razor blade to carefully lift a corner and peel the sticker back slowly. This method prevents scratching the license plate’s paint or reflective coating.
How do you remove registration stickers in cold weather?
In cold weather, the adhesive is much more brittle, making heat application essential. You will need to use a hairdryer or heat gun for a longer period—perhaps two to three minutes—to sufficiently warm the sticker and the surface before attempting to peel it.
Can I use a metal razor blade to scrape the sticker off my windshield?
It is strongly advised not to use a metal razor blade. While effective at scraping, metal can easily leave permanent scratches on your car’s glass. A plastic razor blade provides the necessary rigidity to scrape without the risk of causing damage.
My sticker keeps tearing into tiny pieces. What am I doing wrong?
This almost always happens for two reasons: not enough heat was applied, or you are pulling the sticker up at a 90-degree angle. Re-apply heat to the area to soften the adhesive and be sure to use the “180-degree release” technique, folding the sticker back on itself as you peel.
I don’t have a hairdryer. What’s the next best thing?
The best alternative is to park your car in direct, strong sunlight for an hour or two on a warm day. The sun’s heat will naturally warm the glass and soften the adhesive, making the sticker much easier to peel off. Soaking it with a sponge and warm water can also help.
Final Summary: Your Key to a Residue-Free Sticker Swap
Learning how to remove car registration stickers doesn’t have to be a frustrating chore. By breaking the process down into a simple, repeatable formula, you can get the job done quickly and perfectly every time. Forget scraped knuckles and sticky messes; the solution is all about the right technique.
The entire process comes down to three key steps:
- ✅ Heat > Soften the stubborn adhesive to make it pliable.
- ✅ Peel > Use a plastic blade and the right angle to remove the sticker in one piece.
- ✅ Clean > Wipe away any leftover residue for a flawless finish.
With the right tools and a little patience, you can turn this frustrating task into a quick and easy part of your car maintenance routine. Go give it a try
Last update on 2025-12-29 / Affiliate links / Images from Amazon Product Advertising API
