It’s a frustrating moment every car owner knows: you’ve just finished washing your vehicle, and as it dries, you see them. Those stubborn, chalky circles that ruin your car’s perfect shine. You’re left wondering how to clean water spots on your car for good, especially when they seem to resist simple washing. These marks aren’t just an eyesore; if left untreated, they can cause permanent damage to your paint.
To effectively clean water spots, you must first identify if they are fresh mineral deposits or etched into the surface. Start with a gentle solution of equal parts white vinegar and distilled water. If spots persist, escalate to a clay bar or a dedicated chemical water spot remover. For severe etchings, automotive polish is the final step.
Leveraging extensive analysis of established detailing patterns and product effectiveness, this guide provides the definitive, step-by-step process to eliminate every type of water spot. We’ll unpack the proven methods, from simple DIY solutions to professional-grade techniques, helping you restore that flawless, crystal-clear finish and learn exactly how to prevent water spots on your car from ever coming back.

/How-to-remove-water-stains-from-your-car-5077585_color_rev-fecd6453bd6c477f96925da6a2610a2d.png)
Key Facts
- Root Cause: Water spots are not just dried water; they are mineral deposits, primarily calcium and magnesium, left behind after water evaporates, which is why they don’t simply wash away.
- Permanent Damage Risk: If ignored, the minerals and corrosive elements in water spots can etch into your car’s clear coat, creating permanent craters that significantly reduce the vehicle’s appearance and resale value.
- Identification is Crucial: There are at least eight distinct types of water spots, ranging from topical deposits to deep etchings. Using the wrong removal method for the spot type can be ineffective or even damage your paint.
- Chemical vs. Mechanical Removal: Mild spots can be dissolved with a chemical approach (like a vinegar solution), while bonded contaminants often require a mechanical approach (like a clay bar) to lift them from the surface.
- Prevention is the Best Cure: The most effective long-term strategy is prevention. Regularly applying a quality wax or paint sealant creates a hydrophobic barrier that stops water from beading and drying on the surface.
What Causes Water Spots and Why You Should Remove Them
Water spots are mineral deposits (calcium, magnesium) from evaporated water that can etch into a car’s paint, damaging its appearance and resale value. Ever wondered why those seemingly harmless water droplets leave such a stubborn mark? It’s all about what’s left behind. Water spots are mineral deposits, primarily calcium and magnesium, left behind after water evaporates, which can etch into your car’s paint if not addressed.
This isn’t just a cosmetic issue; it’s a direct threat to your vehicle’s protective clear coat and overall value. Understanding the sources and effects is the first step in knowing how to clean water spots on a car effectively.
- Primary Causes: The main culprits are sources of “hard water” rich in minerals. This includes tap water from a hose or sprinklers, rainwater that collects dust and pollutants from the air, and even morning dew. When the H2O evaporates, the minerals stay behind, creating those unsightly spots.
- The Negative Effects:
- Paint Etching: This is the most serious consequence. The alkaline minerals, when baked by the sun, can eat into the clear coat, creating tiny craters known as etchings that cannot be removed by simple washing.
- Reduced Shine and Clarity: Even before etching occurs, a layer of mineral deposits will make your paint look dull, hazy, and dirty, hiding its true color and depth.
- Lower Resale Value: A vehicle with a well-maintained, spotless finish commands a higher resale value. Paint damage from water spots is an immediate red flag to potential buyers, signaling poor maintenance.
First, Identify the Type of Water Spot on Your Car
To remove water spots effectively, first identify their type: Type I (topical), Type II (bonded minerals), or Type III/IV (etched into thepaint). Before you grab any product, let’s play detective. Matching the spot to its type is the single most important step for safe, effective removal. Ignoring this can lead you to use a weak method on a tough spot, or worse, an aggressive method on a simple spot, risking damage to your paint.
Pro Tip: Take a close look at your car’s paint in good light. Does the spot sit on top of the paint, or does it look like a tiny crater? The answer will guide you to the right solution below.
| Spot Type | Description & Cause | Recommended Action Level |
|---|---|---|
| Type I (Topical) | Fresh mineral deposits sitting on the paint surface. Caused by recently evaporated hard water, rain, or sprinklers. Easiest to remove. | Mild: Quick Detail Spray, Vinegar Solution |
| Type II (Bonded) | Mineral deposits that have started to bond to the paint, often due to heat or time. More stubborn than Type I spots. | Moderate: Vinegar Solution, Clay Bar, Commercial Water Spot Remover |
| Type III (Imprint) | A visible etching or ring that has started to cut into the clear coat. Caused by corrosive elements repeatedly drying in the same spot. | Aggressive: Polishing |
| Type IV (Crater) | A severe, deep etching that has noticeably eaten away at the paint surface, leaving a distinct crater. | Very Aggressive: Compounding & Polishing (Professional help recommended) |
| Type V (Acid Rain) | Etchings caused by polluted rainwater (containing sulfur dioxide, etc.) common in high-traffic or industrial areas. | Aggressive: Polishing |
| Type VII (Single Stage Stain) | A cloudy, whitish stain within older, porous single-stage paint, caused by water penetration. | Specialized: Requires careful polishing; professional help advised. |
The 5 Methods for How to Clean Water spots on Car (From Mild to Aggressive)
Start with the least aggressive method, like a vinegar solution, and only escalate to polishing if spots are etched into the paint. Ready to restore that crystal-clear finish? We’ll walk you through five proven methods, starting with the simplest. The golden rule, followed by every professional detailer, is to always begin with the least aggressive method that could solve the problem. Find the one that matches your water spot type and follow the steps carefully.
Method 1: The Vinegar and Distilled Water Solution (For Type I & some Type II)
Mix equal parts white vinegar and distilled water, spray on the spots, let sit for 2-5 minutes, then gently wipe and rinse thoroughly. This is the classic, go-to DIY method for fresh water spots on your car because it’s cheap, accessible, and surprisingly effective.
Quick Fact: The mild acidity in white vinegar is what makes it so effective at dissolving the alkaline mineral deposits that form water spots.
- Mix Your Solution: In a clean spray bottle, combine one part plain white vinegar with one part distilled water. Using distilled water is key, as it contains no minerals of its own and won’t cause new spots.
- Spray the Area: Work in a cool, shaded area. Spray the solution directly onto the water spots.
- Let it Dwell: Allow the solution to sit on the surface for 2 to 5 minutes. This gives the acid time to break down and dissolve the minerals. Do not let it dry on the surface.
- Gently Wipe: Use a clean, plush microfiber towel to gently wipe the area. You shouldn’t need to scrub hard.
- Rinse Completely: Thoroughly rinse the area with clean water to remove any residual vinegar.
- Dry Immediately: Dry the area completely with a fresh microfiber towel to prevent new spots from forming.
CAUTION:While safe for clear coats, vinegar is acidic enough to strip any wax or sealant protection from your paint. You MUST re-apply a protective layer after using this method. Avoid spraying on uncoated aluminum or chrome, as it can cause corrosion.
Method 2: Clay Bar Treatment for Bonded Deposits (For Type I & some Type II)
After washing, use a clay bar with lubricant to gently glide over water spots, lifting the bonded mineral deposits from the paint surface. Think of a clay bar as a spa treatment for your paint, gently lifting and pulling out impurities that washing leaves behind. If a vinegar solution doesn’t work, it often means the minerals are bonded to the paint, not just sitting on it. A clay bar removes these above-surface contaminants mechanically.
- Wash and Rinse: The car must be completely clean before claying. Wash and rinse the affected panel thoroughly.
- Lubricate Generously: Spray a generous amount of a dedicated clay lubricant or a quick detailer spray onto a small (2’x2′) section. The surface must be slick to prevent scratching.
- Glide the Clay: Gently glide the clay bar back and forth over the lubricated area with light pressure. You will feel it “grab” at first and then become smooth as it picks up the contaminants.
- Knead the Clay: After each section, check the clay. If it’s dirty, fold it over and knead it to expose a fresh, clean surface. This prevents you from rubbing the collected grit back into the paint.
- Final Rinse and Dry: Once the surface feels perfectly smooth, give the area a final rinse and dry it thoroughly with a microfiber towel.
Method 3: Using a Commercial Water Spot Remover (For Type I & II)
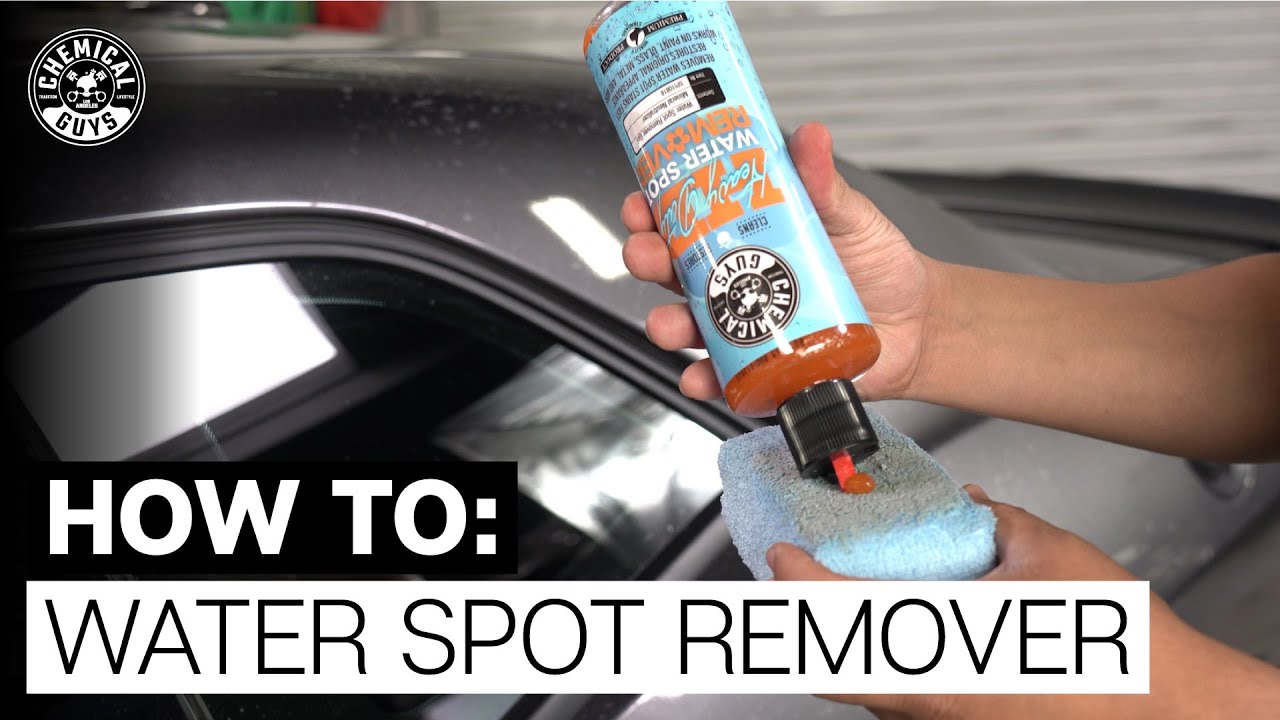
Apply a dedicated water spot remover like those from Chemical Guys or CARPRO to a microfiber towel, gently rub the area for 30 seconds, and neutralize the product. When vinegar isn’t quite strong enough, a dedicated chemical water spot remover is the next logical step. These products are formulated with a balanced blend of mild acids and lubricating agents designed specifically to break down stubborn mineral deposits safely and efficiently.
Some of the most effective and frequently mentioned products in detailing communities include:
* Chemical Guys Heavy Duty Water Spot Remover
* Duragloss 505 Water Spot Remover
* CARPRO Spotless 2.0
Pro Tip: After using a chemical remover, it’s critical to neutralize the area with a waterless wash or soap and water to stop the chemical action.
- Work in the Shade: Ensure the surface is cool to the touch.
- Apply to Towel: Do not spray the product directly onto the paint. Apply a small amount to a clean microfiber applicator or towel.
- Gently Agitate: Gently rub the towel over the affected area for no more than 30-60 seconds. Let the chemicals do the work, not pressure.
- Neutralize & Rinse: Immediately wipe the area with a waterless wash spray or rinse thoroughly with soap and water to neutralize the remover.
- Dry and Protect: Dry the area completely and apply a layer of wax or sealant, as these removers will also strip protection. Always follow the manufacturer’s specific instructions, as some products are designed for wet surfaces and others for dry.
Method 4: Polishing to Erase Etched Water Spots (For Type III & IV)
For etched water spots that won’t come off, use an automotive polish on an applicator pad to gently abrade and level the clear coat until the etching is gone. Always follow with wax or sealant. Is the water spot an actual crater in the paint? If you can feel an indentation with your fingernail, no amount of chemical cleaning will fix it. This is a Type III or IV etching, and the only solution is to physically level the paint surface. Polishing is the answer. But with great power comes great responsibility…
Warning: Polishing removes a microscopic layer of your car’s clear coat. This method should only be used for true etchings and performed with care.
The goal of polishing is to carefully abrade the paint to level the surface down to the lowest depth of the etching, effectively making the spot disappear.
- Start Clean: Ensure the area is washed, dried, and free of all loose contaminants.
- Apply Polish: Apply a few pea-sized drops of a quality automotive polish to a foam or microfiber applicator pad.
- Work in Small Sections: Work in a small area, about 8-10 inches square. Use firm, overlapping circular motions or straight-line motions to work the polish into the paint.
- Buff Off: Before the polish dries completely, use a clean, dry microfiber towel to buff away the residue.
- Inspect and Repeat: Inspect the area in good light. If the etching is still visible, repeat the process. It may take 2-3 passes.
- Protect the Paint: Polishing leaves the paint completely bare. It is absolutely essential to apply a fresh coat of paint sealant or wax afterward to protect the newly exposed clear coat.
To achieve superior results when dealing with water spots on your car, having the right products is essential. A high-quality water spot remover, microfiber towels, and a protective sealant can make the process faster and more effective.


The Ultimate Solution: How to Prevent Water Spots on Your Car
Prevent water spots by always drying your car immediately after washing, working in the shade, and regularly applying a quality wax or paint sealant to create a protective, water-repellent barrier. The secret to a spotless car isn’t just knowing how to remove spots—it’s preventing them from ever forming. Adopting a proactive approach used by detailing professionals will save you countless hours of corrective work and keep your car looking pristine.
Here is your checklist for a spotless future:
- Dry, Don’t Air Dry: This is the single most important rule. Immediately and thoroughly dry your car after every wash or rain shower. Use a high-quality, absorbent microfiber drying towel or a dedicated car blow dryer to remove all water before it can evaporate.
- Work in the Shade: Never wash your car in direct sunlight. The heat causes water to evaporate almost instantly, leaving minerals behind before you have a chance to dry the surface.
- Apply Wax or Sealant: This is your armor. Regularly apply a layer of high-quality car wax or a more durable paint sealant. These products create a hydrophobic (water-repelling) barrier that makes water bead up and roll right off the surface, taking the minerals with it.
- Use Filtered Water: If your home has very hard tap water, consider investing in an in-line hose filter or a de-ionization (DI) system. These remove the minerals from the water, making it impossible for water spots to form during a wash.
- Park Strategically: Whenever possible, park in a garage or under a carport to shield your car from rain and morning dew. Be mindful of parking next to sprinklers, which are a primary source of hard water spots.
Which of these prevention steps can you add to your car wash routine this weekend?
FAQs About How to Clean Water Spots on Car
How do I get hard water spots off of my car?
For hard water spots, start with a vinegar solution. If they remain, use a dedicated commercial water spot remover. If they are etched, polishing is required. Hard water spots are simply water spots with a higher concentration of mineral deposits. The key is to dissolve these minerals.
- First Line of Defense: Start by spraying a 1:1 mixture of white vinegar and distilled water on the spots, letting it sit for a few minutes before wiping and rinsing.
- Second Step: If the vinegar solution is ineffective, escalate to a purpose-built commercial water spot remover.
- Final Solution: If you can feel the spot as an indentation in the paint, it has become an etching and must be removed with an automotive polish.
What if water spots on my car won’t come off with washing?
If washing doesn’t remove water spots, they are bonded or etched. Use a vinegar solution, a clay bar, or an automotive polish for removal. A standard car wash is only designed to remove loose dirt and grime. It lacks the chemical or abrasive power to deal with mineral deposits that have bonded to or etched into the clear coat. You need to move on to the targeted removal methods discussed in this guide, starting with the least aggressive approach.
Can I use these methods to clean water spots on car windows?
Yes, a vinegar solution and clay bar are effective for water spots on car windows. For stubborn spots, use a polish specifically designed for glass. Glass is harder than your car’s clear coat, so some methods are very safe. The vinegar and distilled water solution works exceptionally well on glass. A clay bar can also be used to remove bonded deposits. For etched spots on glass, you should use a polish specifically formulated for glass, as some aggressive paint compounds can cause hazing or fine scratches on windows.
Does vinegar damage car paint or clear coat?
Diluted vinegar is safe for clear coats but it will strip wax. Always rinse well after use and re-apply a coat of wax or sealant to restore protection. When mixed 1:1 with distilled water and used for short periods as directed, vinegar will not harm your car’s modern clear coat. However, its acidic nature is strong enough to dissolve and remove any existing layer of wax or sealant. Therefore, it’s crucial to rinse the area thoroughly after use and always follow up by applying a new layer of protection.
Final Summary: Achieving and Maintaining a Spotless Finish
Successfully learning how to clean water spots on your car comes down to a simple, three-part strategy: identify, remove, and prevent. By correctly diagnosing the type of spot you’re dealing with, you can choose the right tool for the job, saving you time and protecting your paint. You now have the knowledge to move from the gentlest solutions to more powerful techniques with confidence.
Remember these core principles on your path to a perfect finish:
- Identify First: Don’t just start scrubbing. Match the spot type—topical, bonded, or etched—to the right removal method to ensure success without causing damage.
- Start Mild: Always begin with the least aggressive solution, like a vinegar and water mix, before escalating. Only use abrasive polishing as a last resort for true etchings.
- Prevent Always: The best strategy is a proactive one. Proper drying techniques and the regular application of a quality wax or paint sealant are your best defenses against future water spots.
Now you have the expert knowledge to tackle any water spot. Go restore that flawless shine and protect your investment
Last update on 2025-07-16 / Affiliate links / Images from Amazon Product Advertising API


